Notification Settings
If the Owner of your Opsgenie account has not verified their email yet, users within your organization will not be able use API integrations.
Under Free and Essentials Plans, only one Notification Rule is available to set per type. Types are limited to New Alerts, Schedule Start/End, Other Notifications.
Configure Your Notification Settings
Within Opsgenie, how users choose to get notified is identified in their Notification Settings. You can refer to Notification Settings for guidance on how to define your contact methods and notification rules to complete configuring your notification settings.
When you sign up:
Opsgenie creates an E-Mail contact method with the e-mail address that you've defined as your user-name and creates notification rules for each notification type. You will receive notifications via this contact address immediately after a notification event occurs for you.
If you provide your phone number during the step-by-step on-boarding process, Opsgenie creates Voice and SMS contact methods with the provided number for you. Additionally, Opsgenie will create notification rule steps for New Alert notification type using these contact methods below:
- Notify via <your_phone_number_for_SMS> 1 minute later
- Notify via <your_phone_number_for_Voice> 2 minutes later
Once you install and login with any Opsgenie mobile app, your mobile device will be added as a Mobile contact address and configured to receive push notifications immediately after a notification event occurs for each notification type.
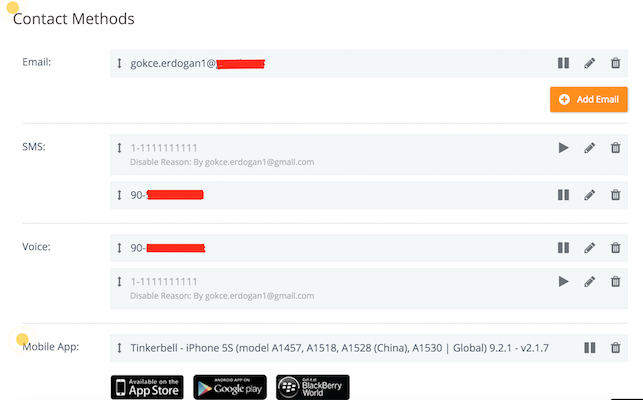
Please note: if one of your administrators define a Central Notification Template for your user role, then your notification rules will be prepared according to this template. All you need to do is configure your contact methods.
Select Your Time-Zone
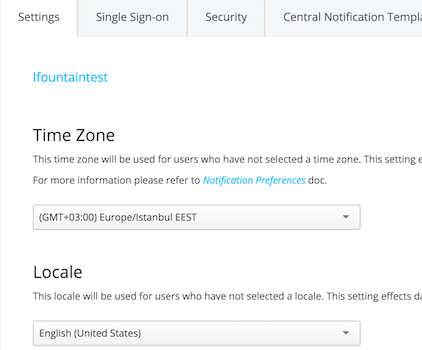
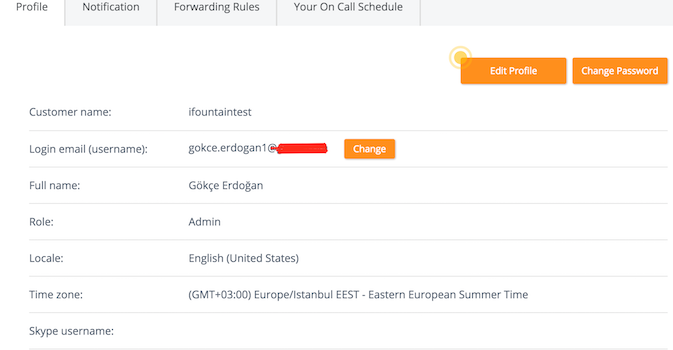
If you're one of the account owners or admins, please make sure to configure the correct time-zone for your organization through the Settings page. Please also make sure to configure your individual time-zone via the Profile page. You can refer to the Time Constraints & Time Zones document for further information about the effects of time-zones on your alert creation and notification flows.
Create Your First Alert
To create a sample alert to test notifications, you can use the New Alert button within the Alerts page.

In the opening form, specify a message for the alert. Please note that this is the only mandatory field for an alert to be created.
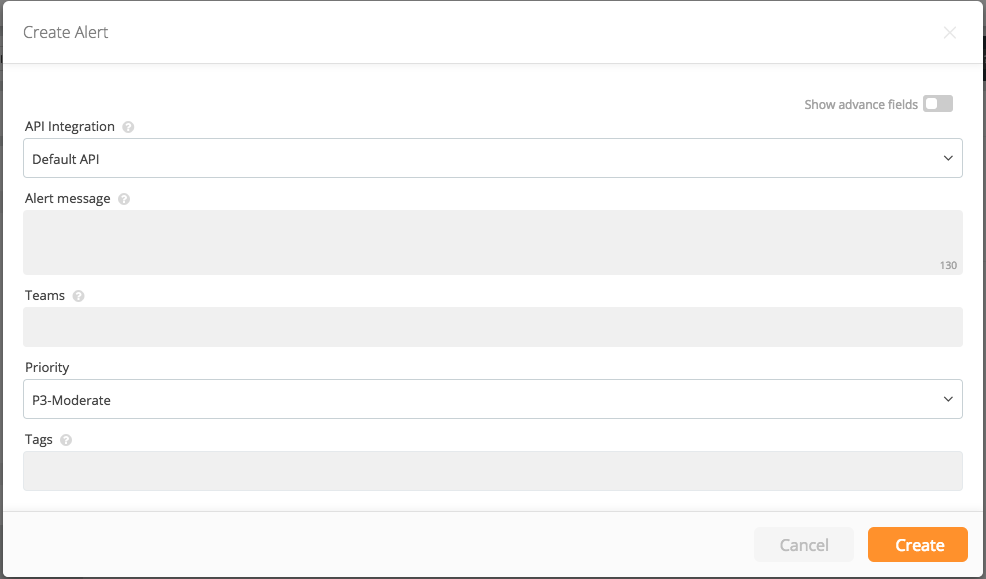
- Switch to Advanced by clicking the Show advanced fields switch
- Start typing your name within the Recipients field. The auto-complete should provide a suggestion as you type. Select your name.
- Click Create. This will create an alert and specify you as the only recipient. Opsgenie will send notifications using your notification settings that you have configured.
I'm Notified. Now What?
After being notified for an alert, you can view the alert details and execute actions on the alert. Alert Details page contains all information about an alert including which users were the recipients, tags, attachments and so on. You can refer Alerts and Alert Fields for further information about the alert fields.
When you click on the message of the alert within the Alerts page, you can display the details of the alert like below:

You can also display the details of the alert via notifications. If you've received a mobile notification, you can click on the push notification that you've received to display the details within mobile app.
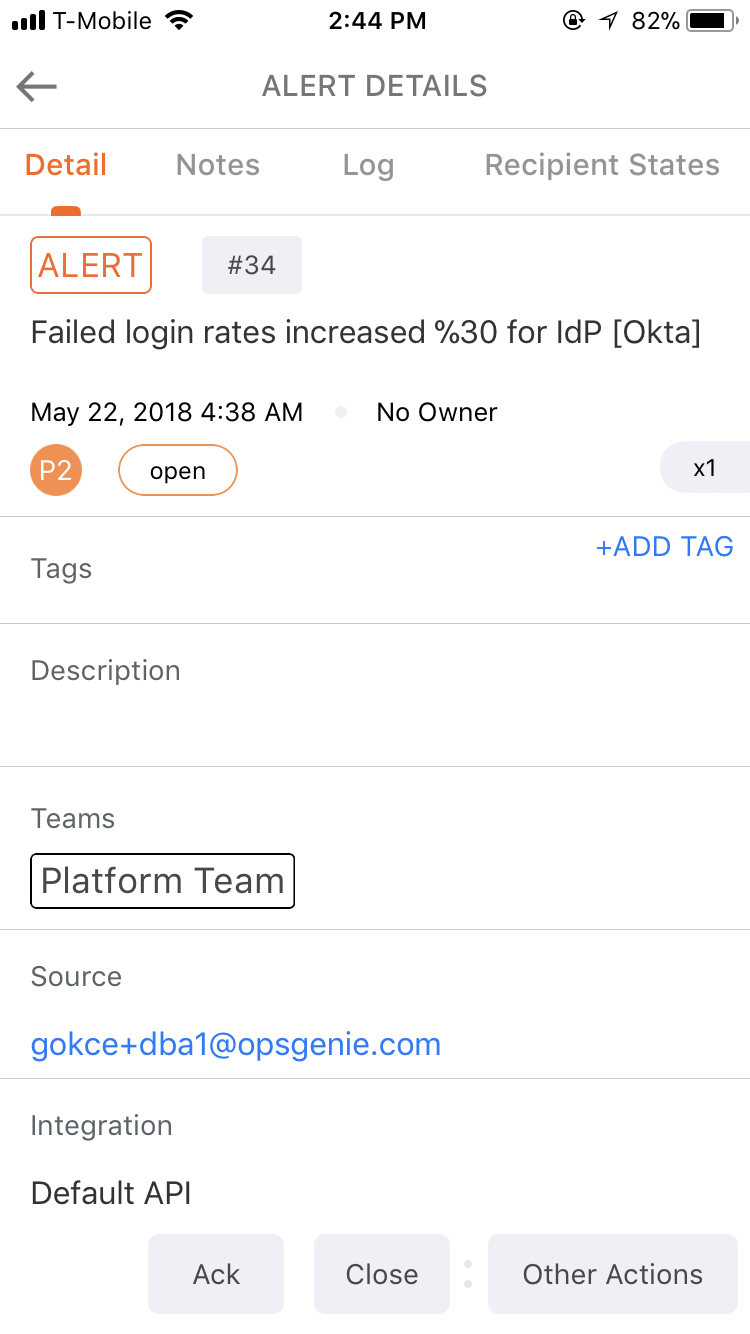
You can also display the details of the alert by clicking the provided link within the SMS and E-Mail notifications.
When you display the details of the alert via any of our applications (Web or Mobile), Opsgenie will stop sending notifications to you for the displayed alert. For example, if you have a notification rule for an SMS to be sent after 2 minutes and if you display the details of the alert via the web UI within 2 minutes, Opsgenie will not send the SMS notification. You can refer Alert Notifications Flow for more information about the flow of notifications.
Opsgenie tracks and logs all alert activity. You can click on the Activity Log when viewing the Alert Details to see them.

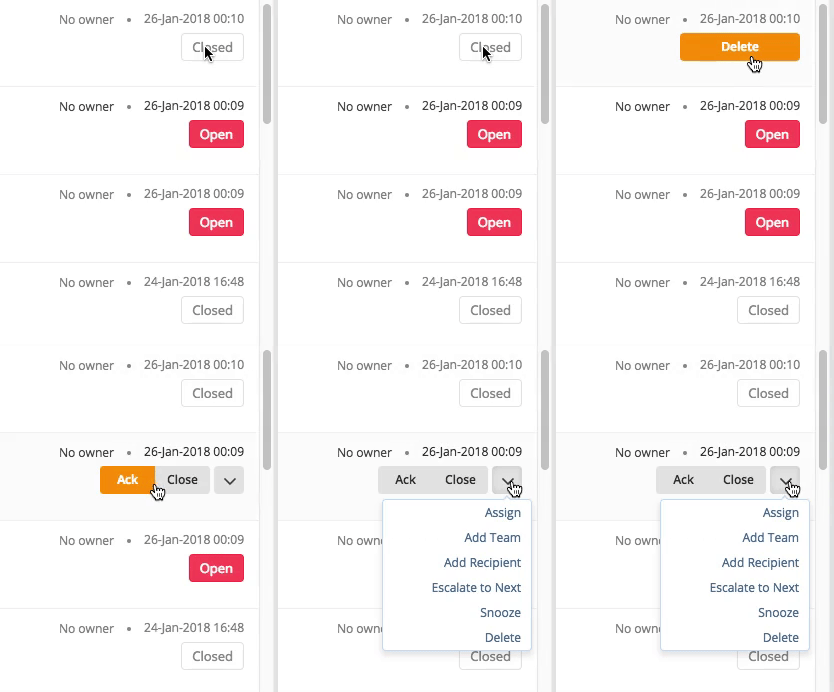
There are several actions that you can execute for responding to an alert. You can add a note to the alert, assign alert to another user, acknowledge the alert, snooze the notifications or execute other actions including custom actions you might add. The activity log also includes the actions you have executed.
Updated 7 months ago
Now you've completed the most basic configurations and received your first notification! For diving into more advanced concepts, you can follow the docs below:
