Jira via AWS Lambda Integration
Lambda is the compute service from AWS that runs code without servers. AWS Lambda is a great solution for many use cases including integrations, particularly when integrating SaaS solutions like Opsgenie and Jira.
Installation
The steps below describe how to integrate Opsgenie and Jira using AWS API Gateway and Lambda Services.
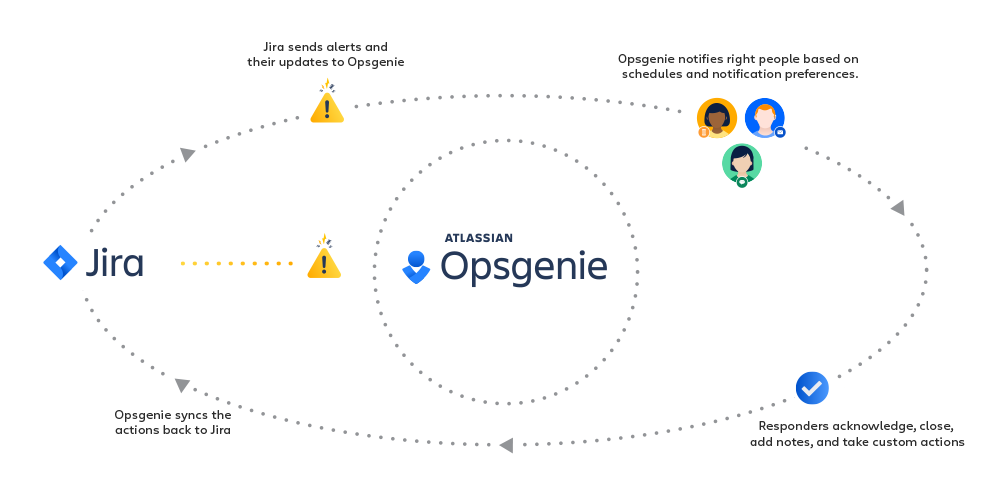
Creating the Lambda Function over API Gateway endpoint
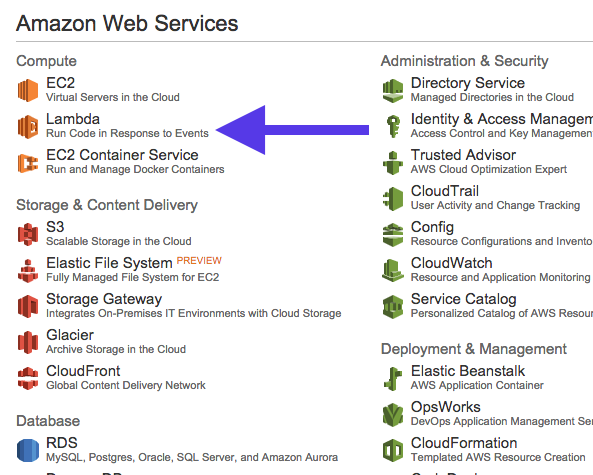
Go to AWS Lambda console.
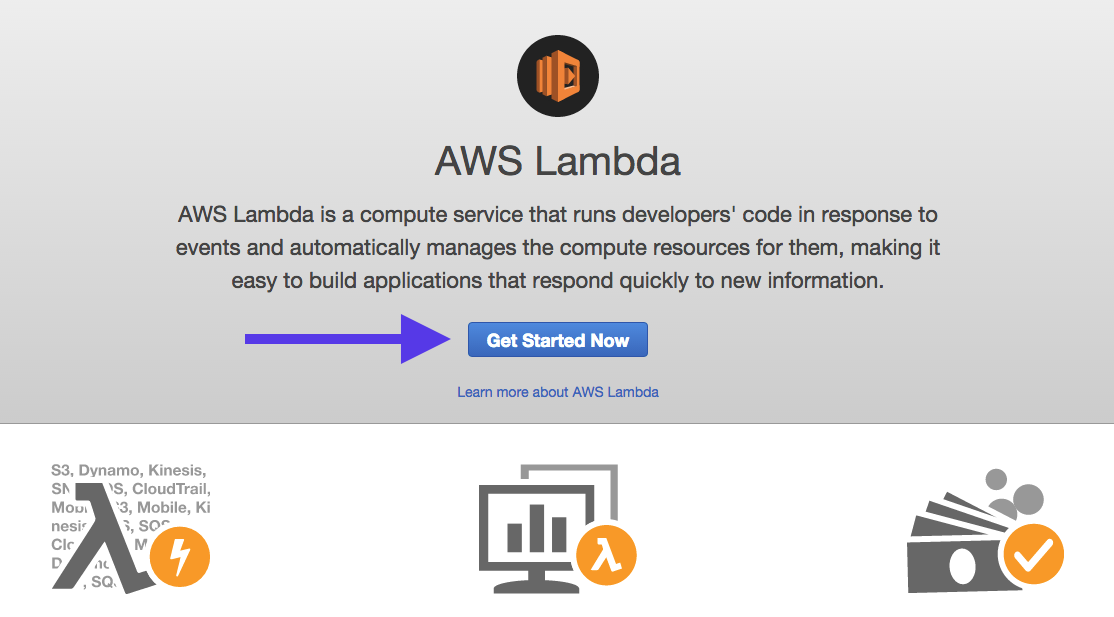
If accessing AWS Lambda for the first time, a welcome screen appears. Click Get Started Now.
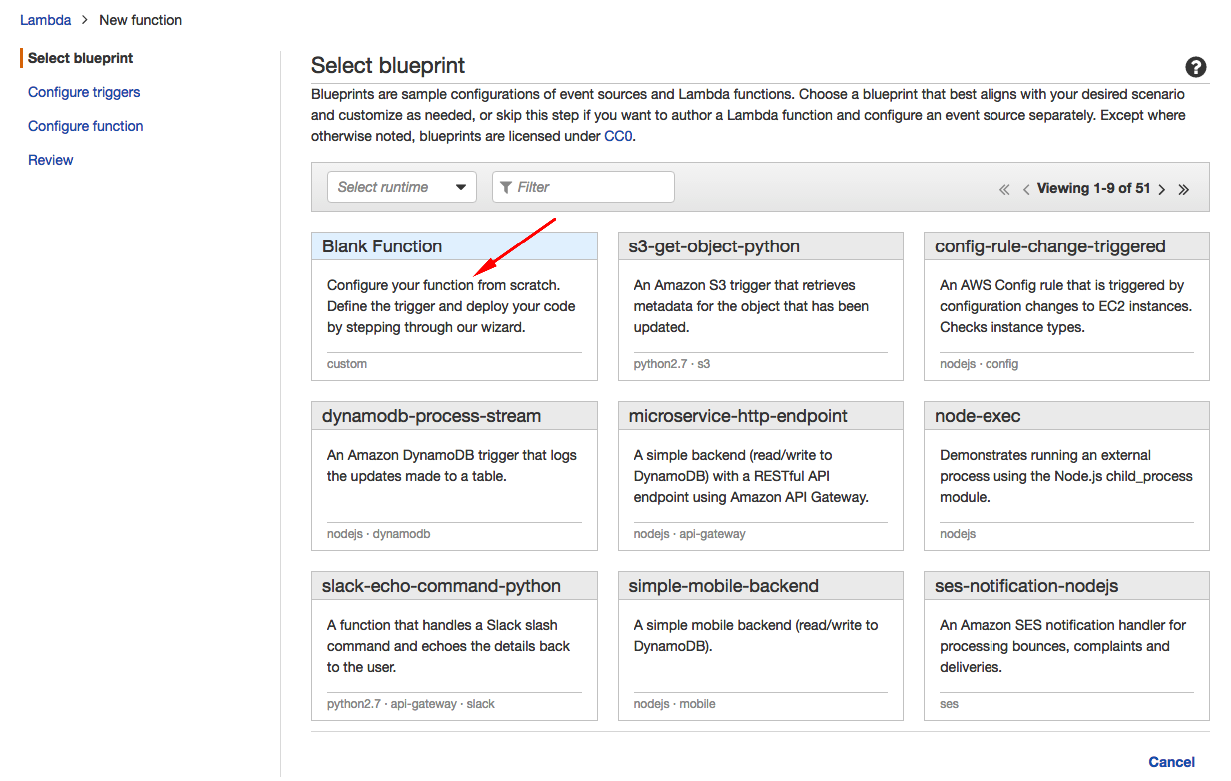
Click "Blank Function" to select the blueprint.
Select API Gateway as a function trigger.
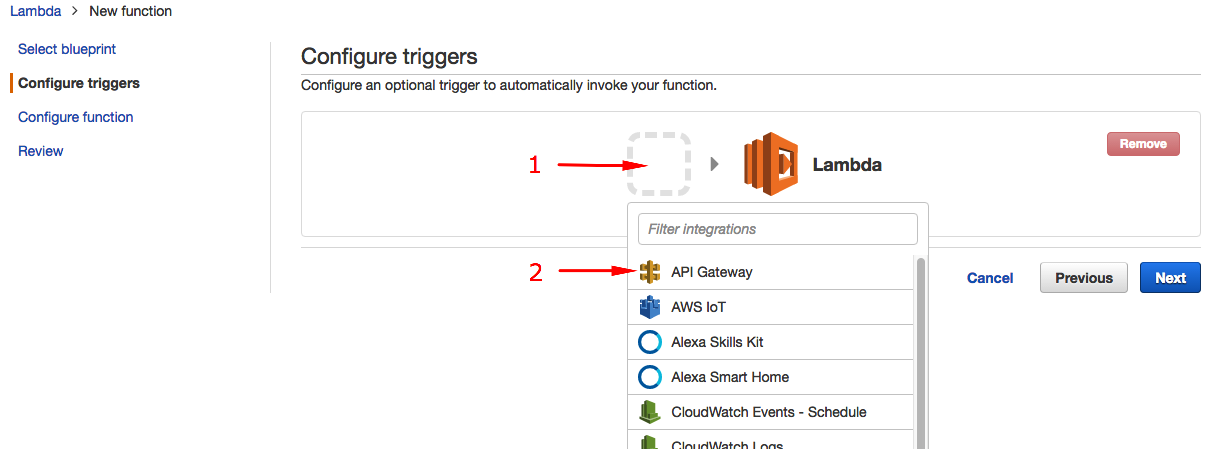
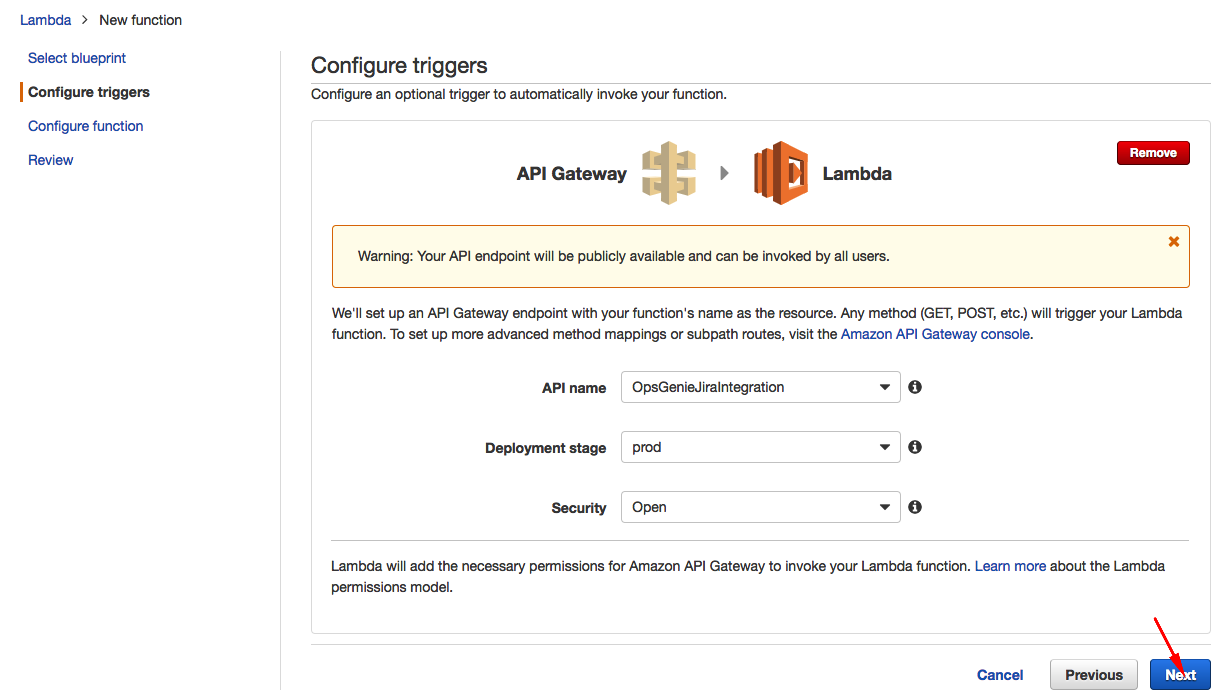
Enter an API Name for the API Gateway endpoint, e.g. OpsgenieJIRAIntegrationAPI.
Select prod as "Deployment stage" and Open as the "Security" option.
Click Next.
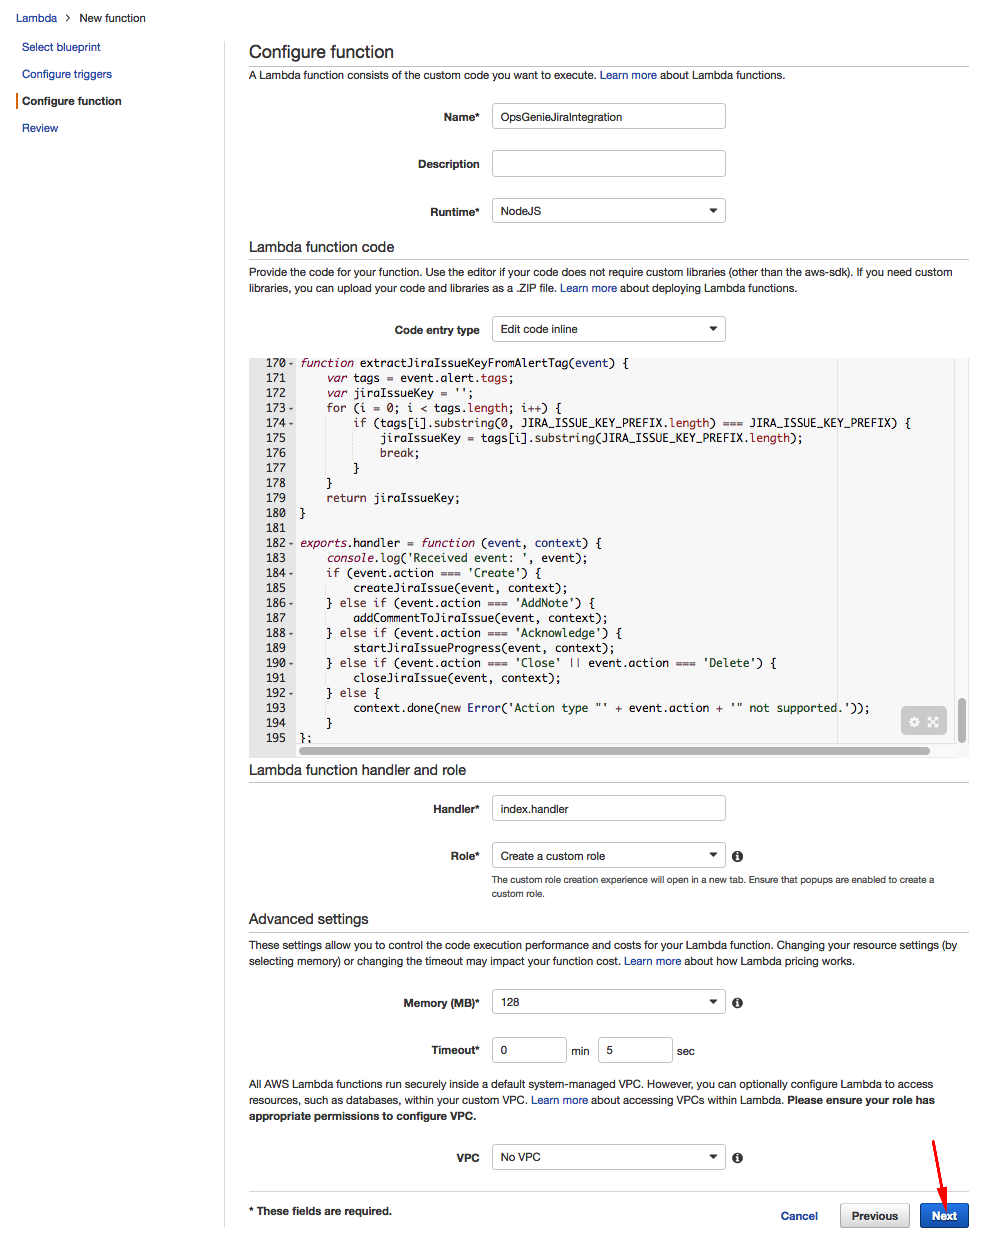
Enter a Name for the Lambda function, e.g. OpsgenieJIRAIntegration.
Description: Enter as desired or leave blank.
Runtime: "Node.js" and Code entry type: "Edit code inline."

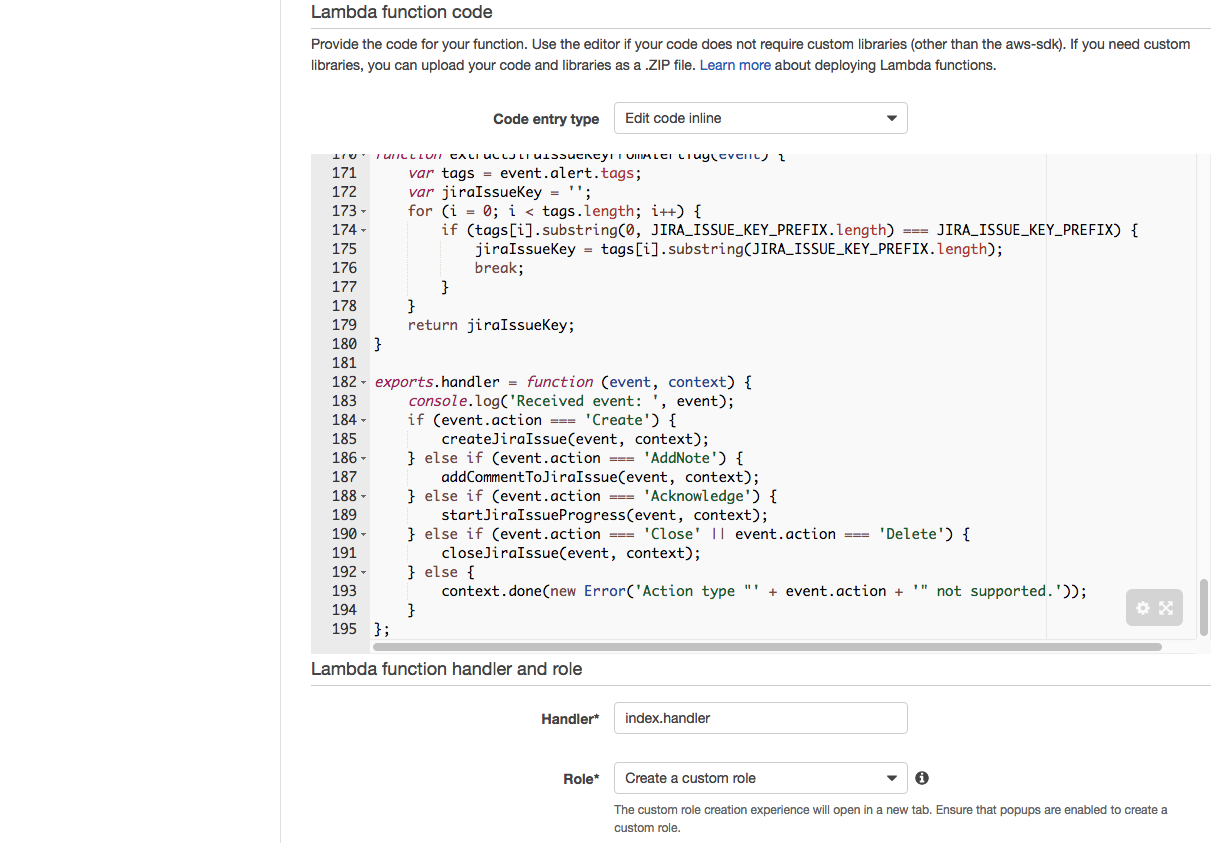
Paste the JavaScript code from ogLambdaJira.js into the inline editor.
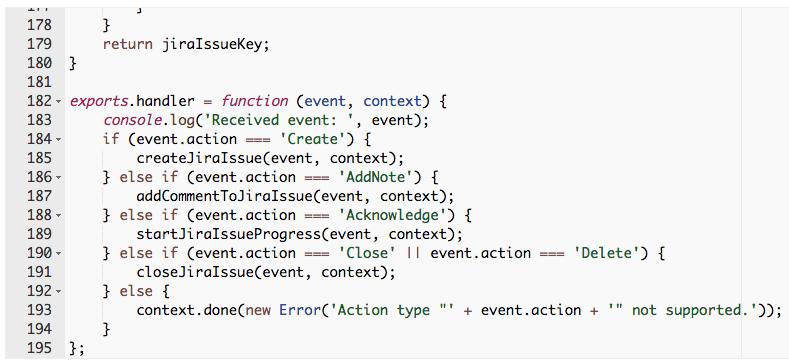
At the beginning of the code, there are a few options to set according to the Opsgenie and JIRA account information.
If a hosted version of Jira (from Atlassian) is being used, replace <jiraAccount> with the Jira account name.
If a custom installation of Jira is being used, update jiraHost, jiraBasePath, jiraProtocol and jiraPort variables accordingly.
For Customers from Another RegionIf Opsgenie is beign used from another domain(eg. EU, sandbox), update ogHost.
Replace <ogApiKey> with the Opsgenie API Key from the Default API Integration or any other API Integration.
Enter correct values for <jiraUsername> and <jiraPassword> in accordance with your Jira account.
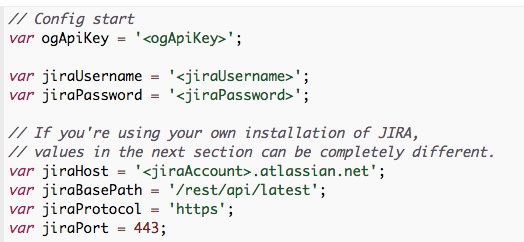
For each Alert created by Opsgenie, a new Jira Issue is created in a Jira Project. In order to be able to determine which Project an Issue will be created in, there are two settings in the code to utilize.
With the alertTagToJiraProjectKey map, associate Alert Tags to Jira Project Keys.
jiraDefaultProjectKey stands for the default Jira Project Key which is used if none of the tag-key mappings can be matched from the alert.
If there is only a single project in the Jira installation, or for all issues to be created in the same Jira Project, enter its key as the default and leave the mapping as an empty array.

Leave Handler’s value as index.handler, select Create a custom role for the Role.
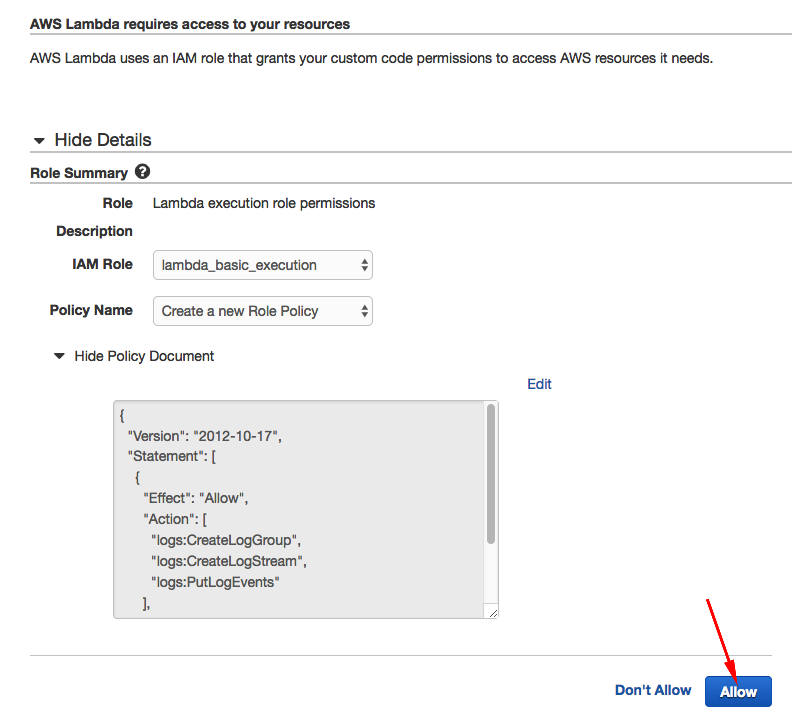
On the newly opened window click Allow to give the necessary permissions to the Lambda function to send logs to Amazon CloudWatch.
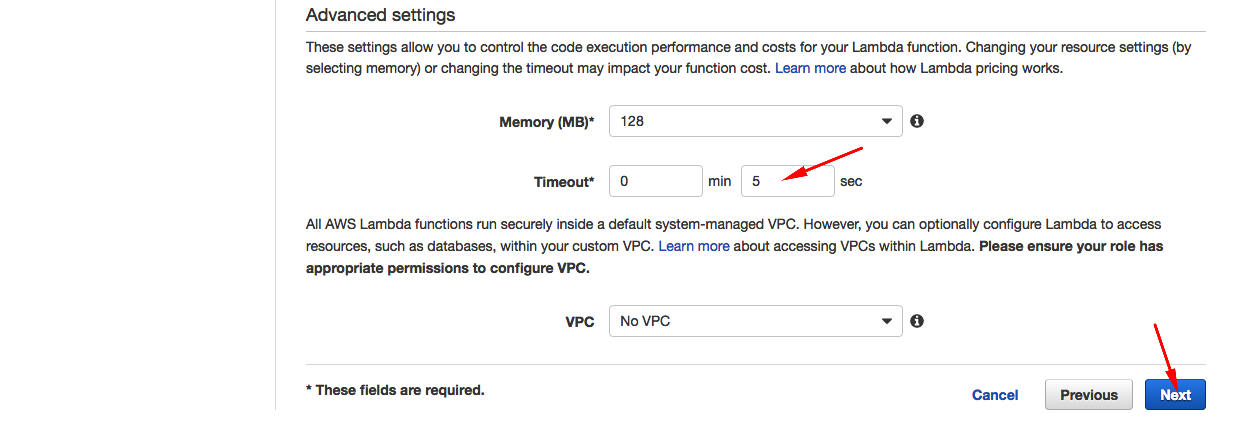
In the Advanced settings pane select Timeout value as 5 just to be safe for our case. Leave Memory value as 128 which is more that necessary for our case.
After completing all steps in the “Configure function” page click Next.
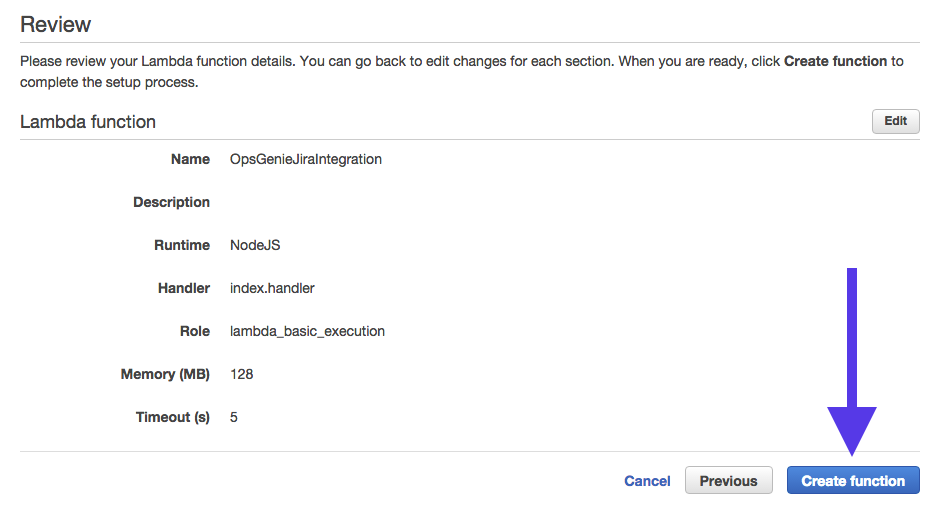
On the next page, click Create function.
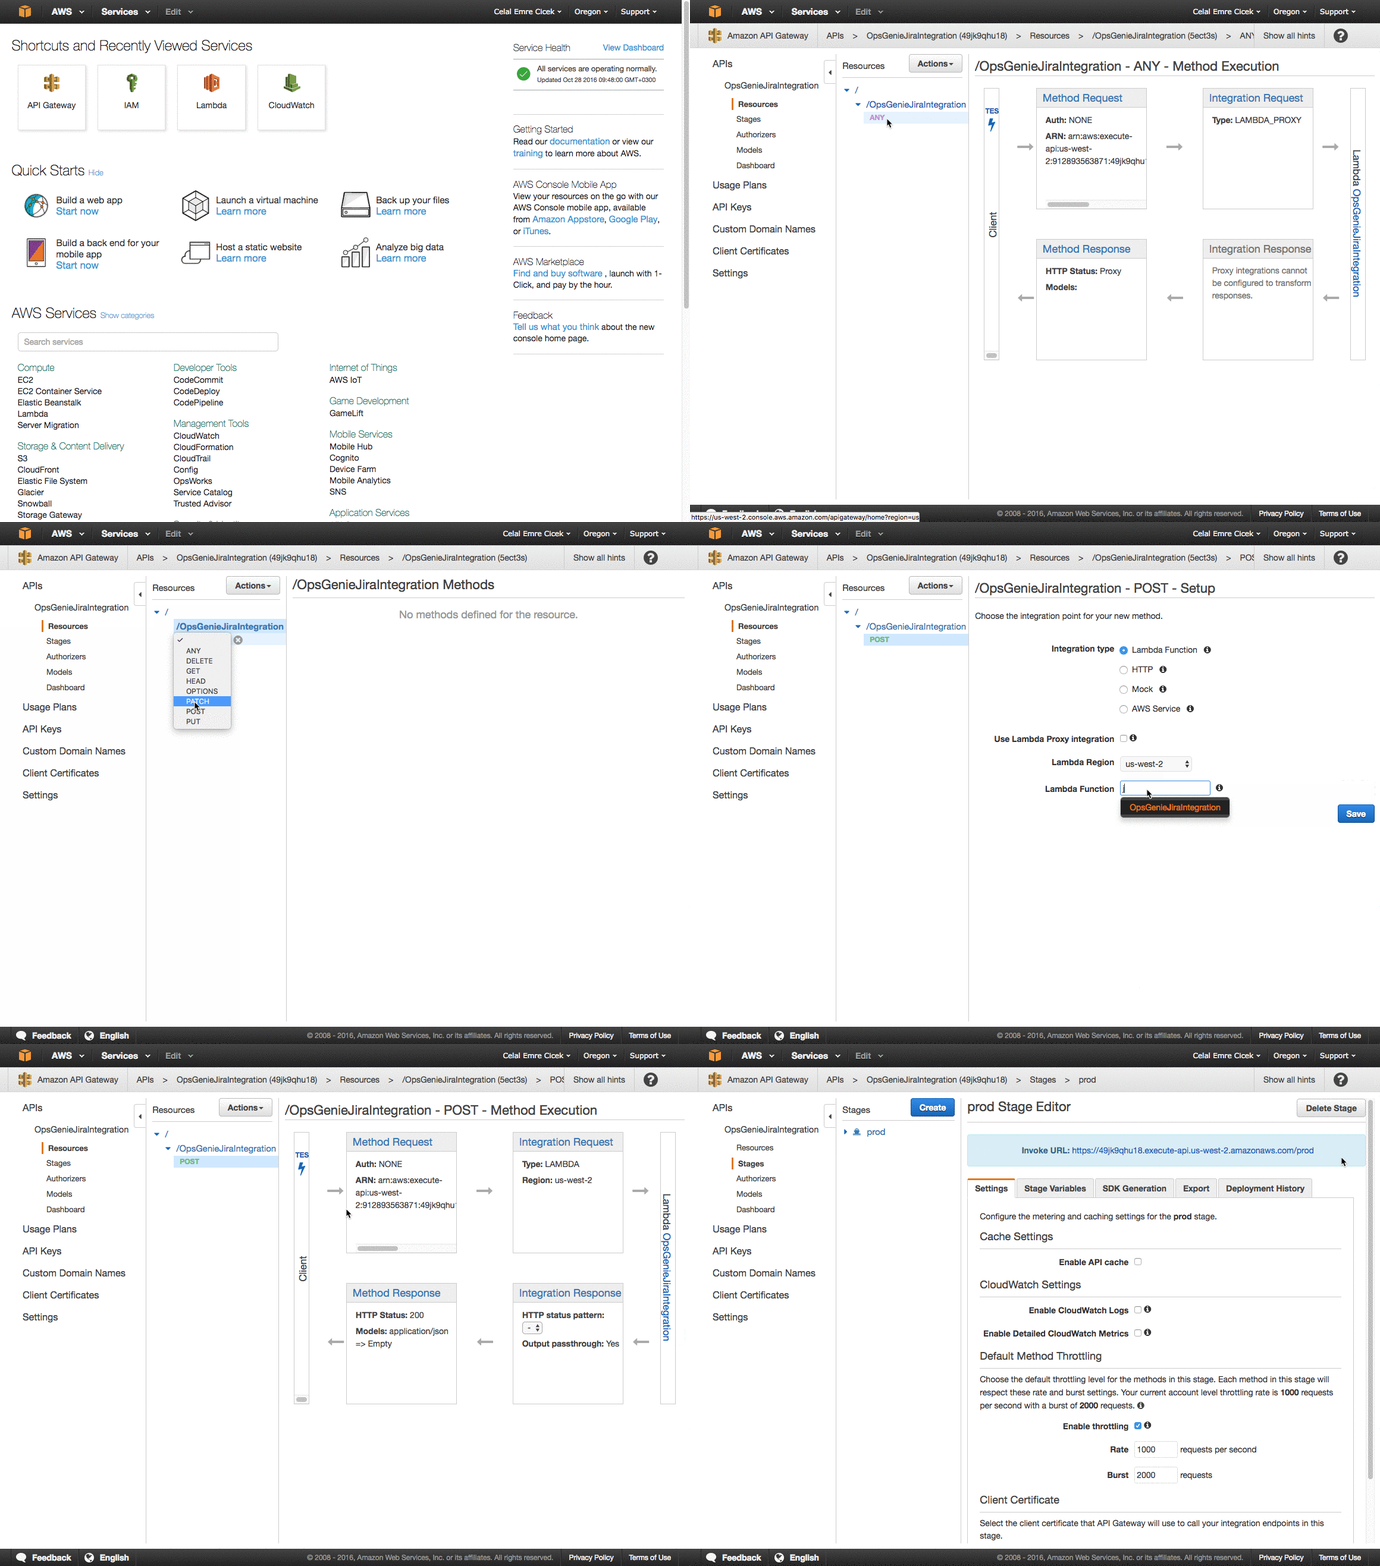
Go AWS -> Services -> API Gateway.
Choose your API that you created for your lambda script under "APIs" tab on the left menu.
Click ANY under "/your_lambda_function_name".
Click Actions above and select Delete Method under "METHOD ACTIONS".
Confirm the delete action.
Click again on Actions and select Create Method under "RESOURCE ACTIONS".
Select POST on the newly created combobox.
Click on the check sign. A new page opens.
Select lambda region.
Type the name of your lambda function into the field.
Click Save on the bottom right side of the page.
Confirm "Add Permission to Lambda Function" dialog.
Click Actions again and select Deploy API under "API ACTIONS".
Select prod as the "Deployment stage".
Click Deploy.
Configuring an Opsgenie Webhook Integration
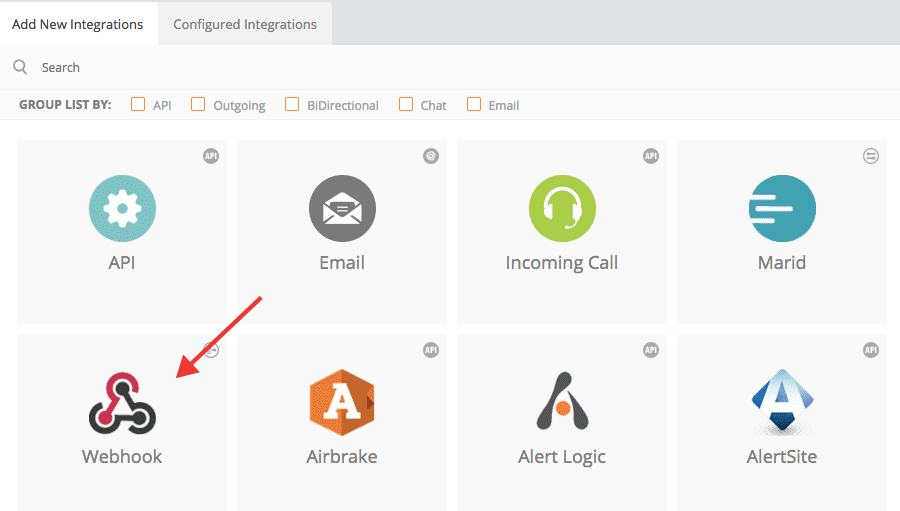
Go to the “Integrations” page of the Opsgenie Dashboard at https://www.opsgenie.com/integration. Click Add New Integration then click the icon to add a Webhook integration (pictured below).
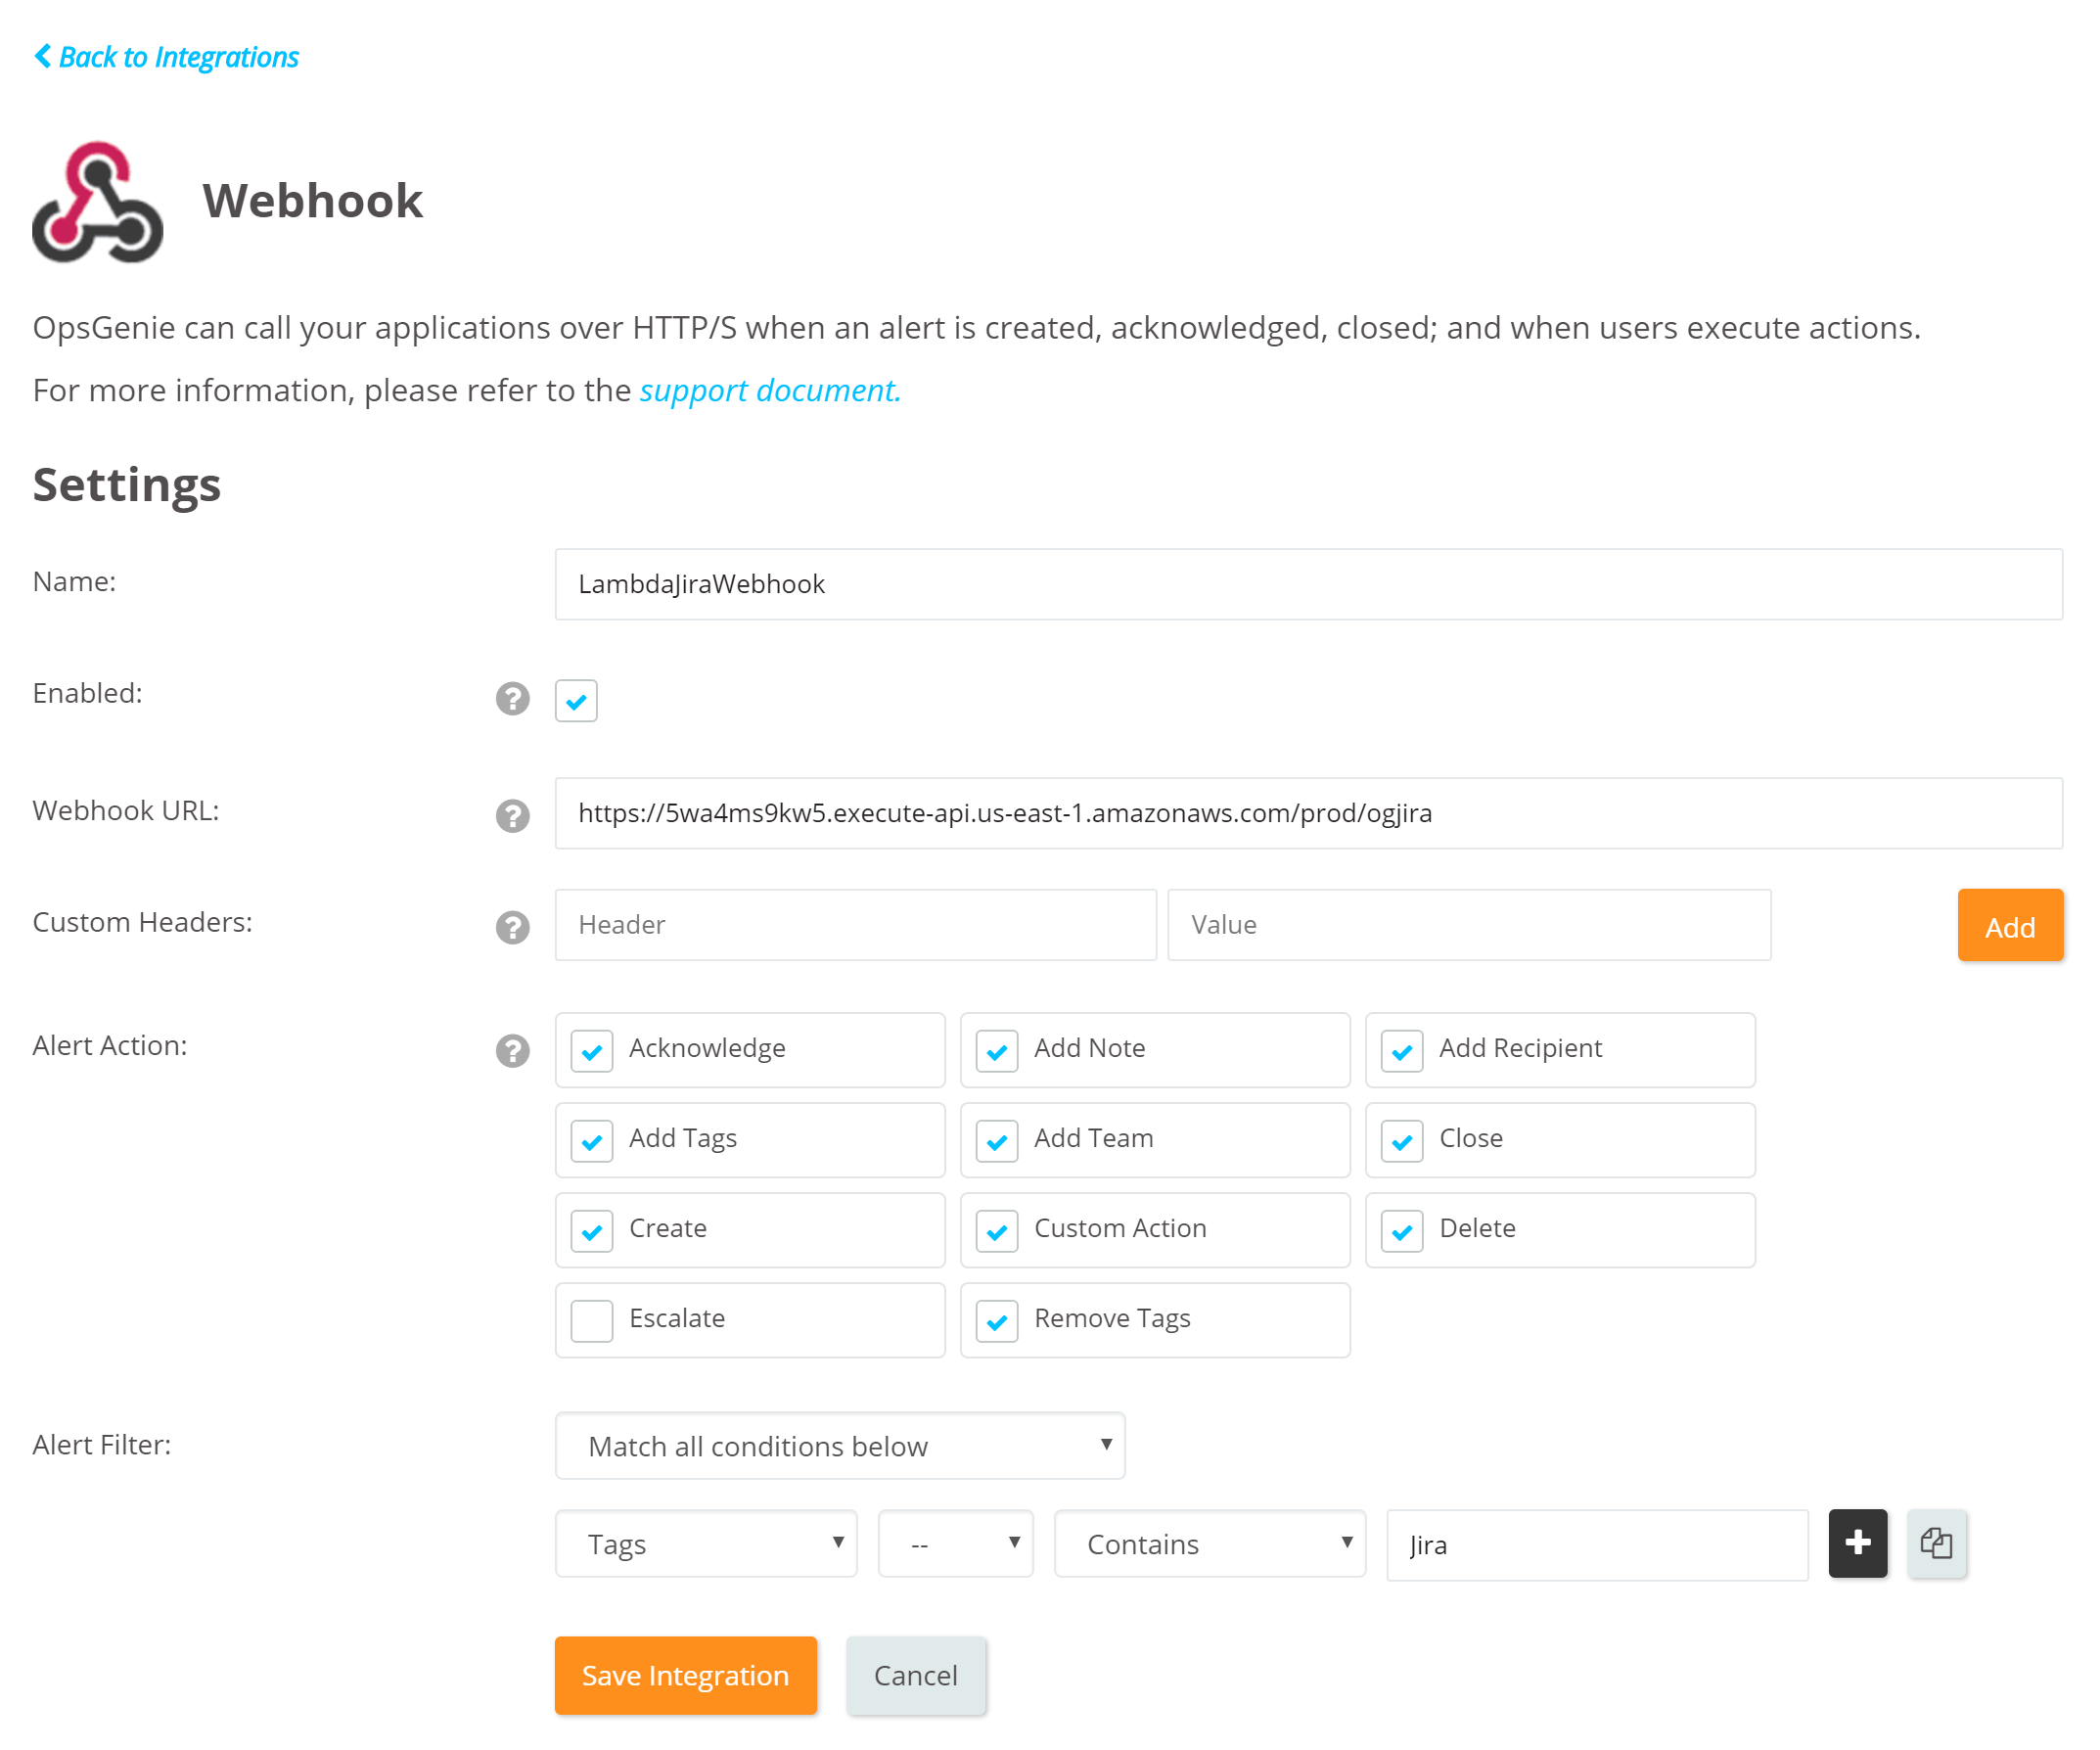
Write the API endpoint that AWS API Gateway provided in the "Webhook URL" text field.
To make our test more reliable by not sending all alerts to the Jira installation as issues, add an Alert Filter with a tag matching condition for a tag such as "jira". Name the integration as desired; it’s named LambdaJiraWebhook here.
After configuring the integration click Save Integration.
Testing the Integration
Now it's ready to be tested. Create a new Alert with a jira tag.
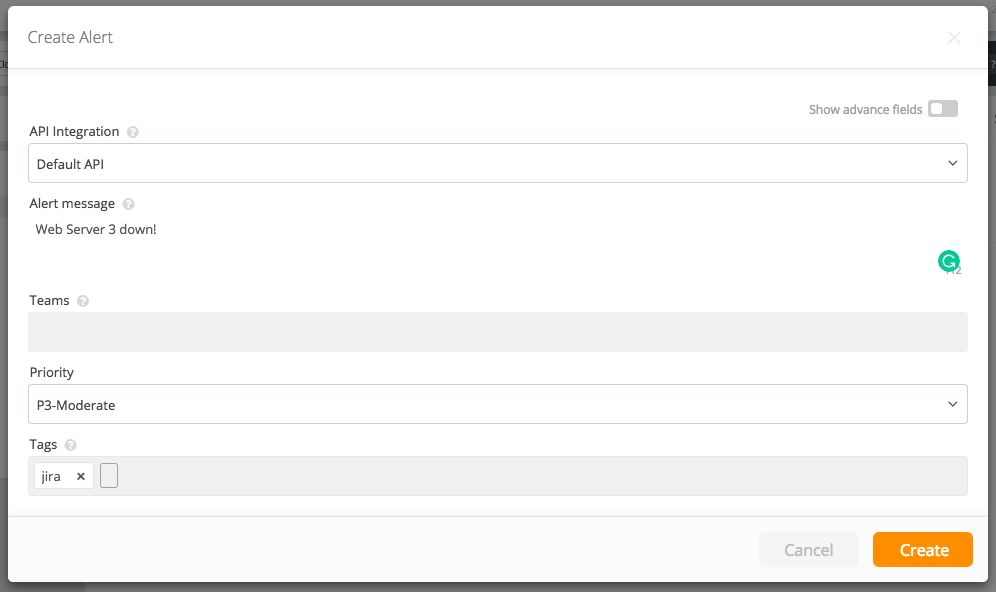
Go to the default Jira project configured previously and see an issue is then created from the alert.

Also check that the alert just created has been assigned a new tag with jiraProjectKey: prefix. This tag is used for associating this Opsgenie Alert to the Jira Issue whose key is included in the tag.

Integration flows supported by the implemented function
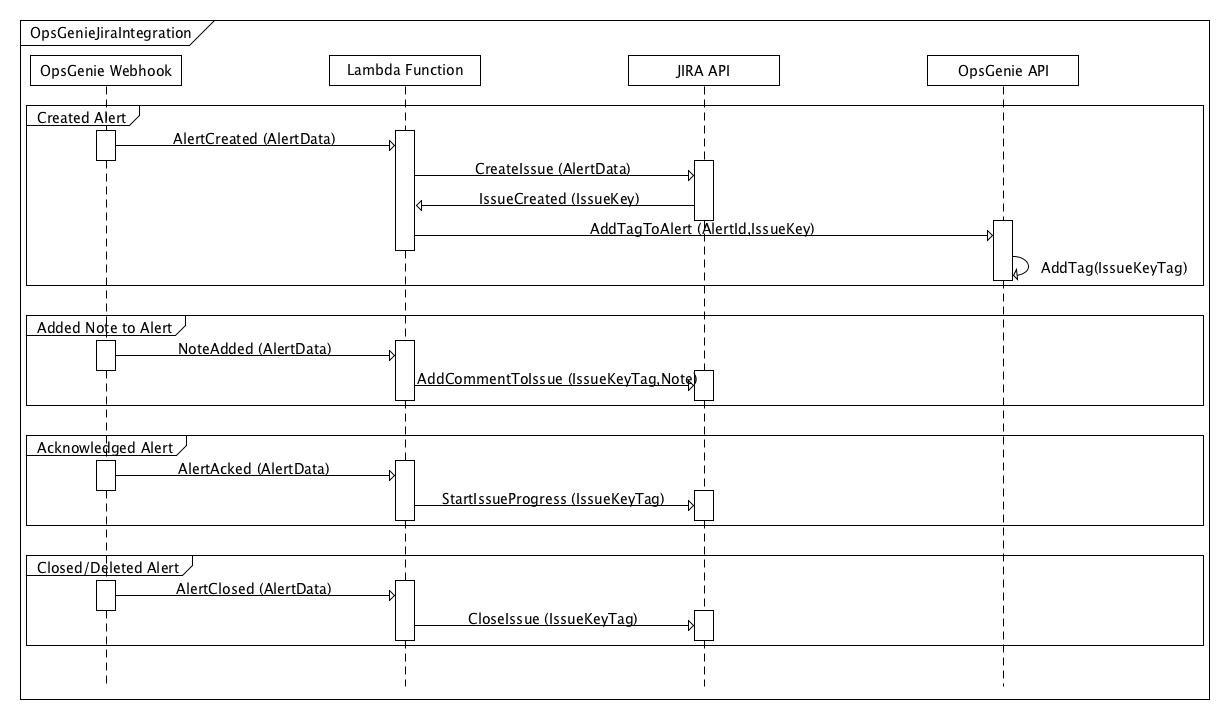
Besides creating new Jira issues upon new Alert creation, the following flows are also implemented with this integration:
- when you add a new note to the alert, a new comment is added to the issue,
- when you acknowledge the alert, progress on the issue gets started,
- when you close or delete the alert, the issue is closed as well.
All these flows are depicted in the following sequence diagram. Note that all items in the diagram are representative and may not reflect the actual implementations of the mentioned systems.
Of course, you can further customize the code in order to meet your own requirements.
Monitoring Lambda runtime and function logs via CloudWatch Logs
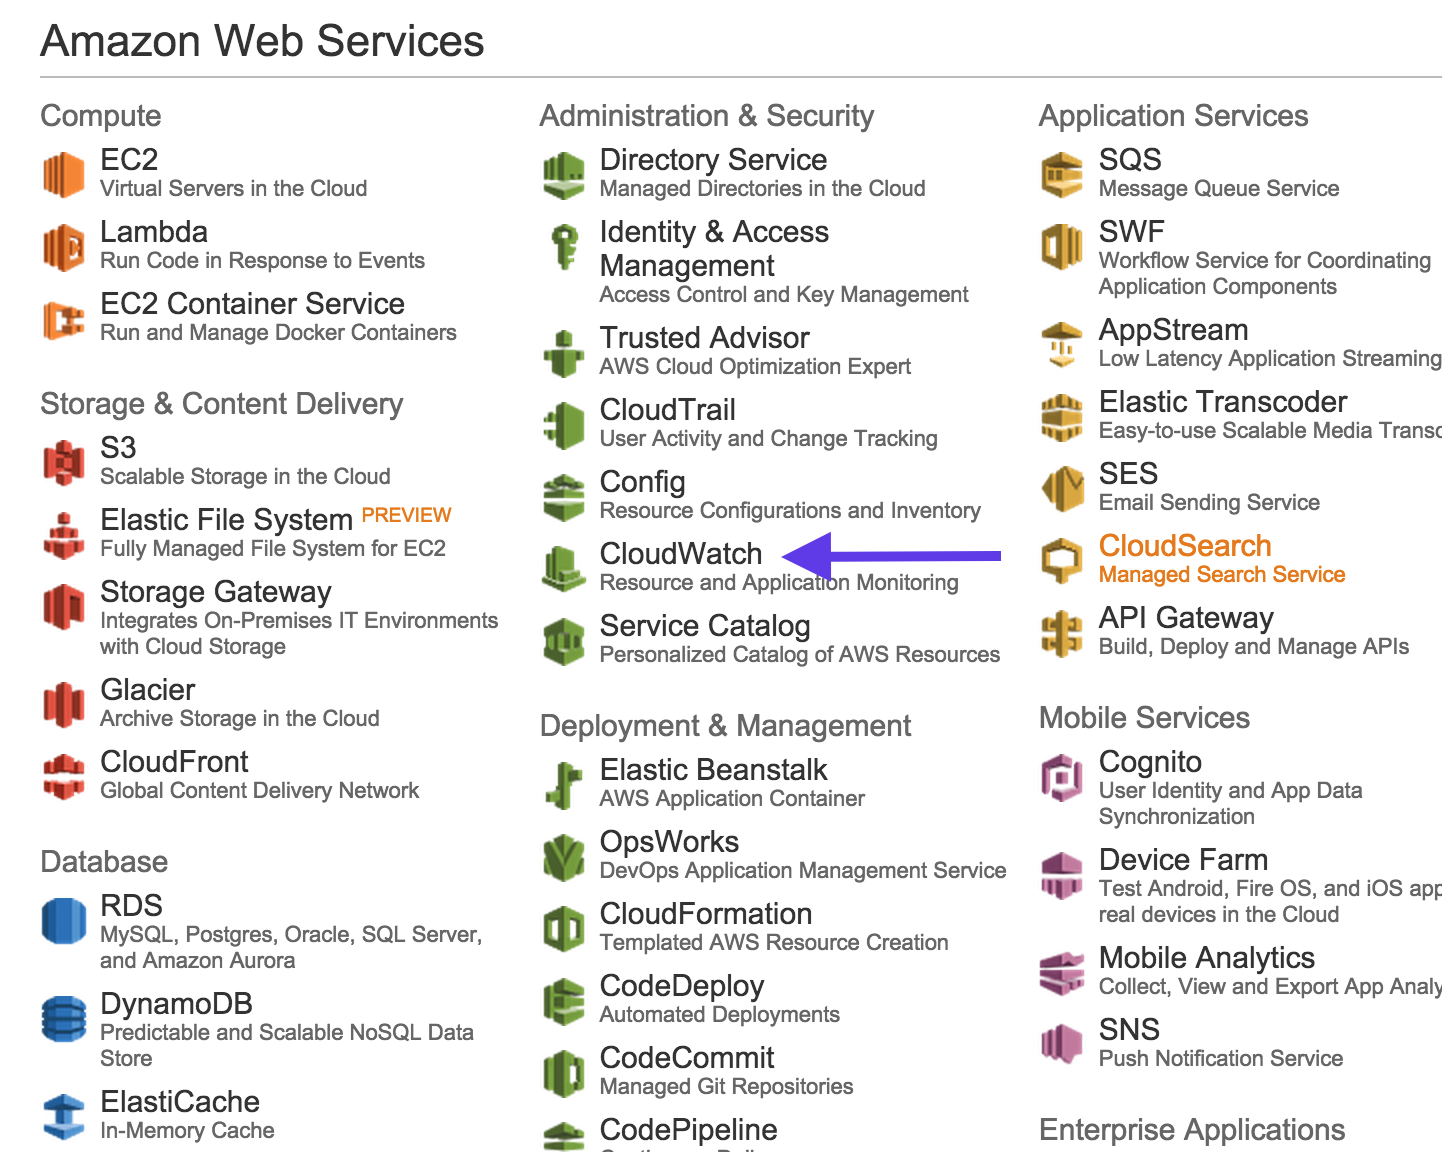
You can also check CloudWatch logs for the logs we’ve written over the console object and also the ones written by the AWS Lambda runtime. Go to CloudWatch console first.
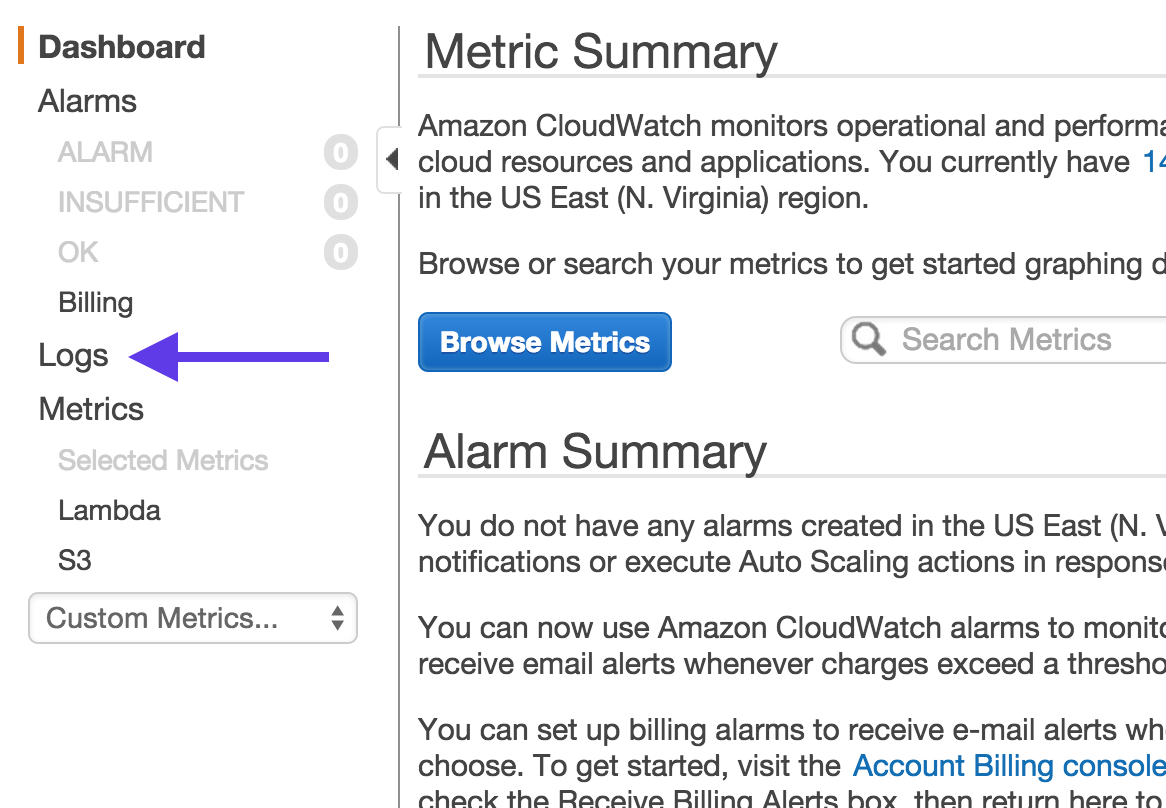
Click on “Logs”.
Click on the Log Group associated with our Lambda function.

Click on one of the Log Streams, e.g. the most recent one after sorting them by Last Event Time.

Check logs written by the runtime and our function itself.
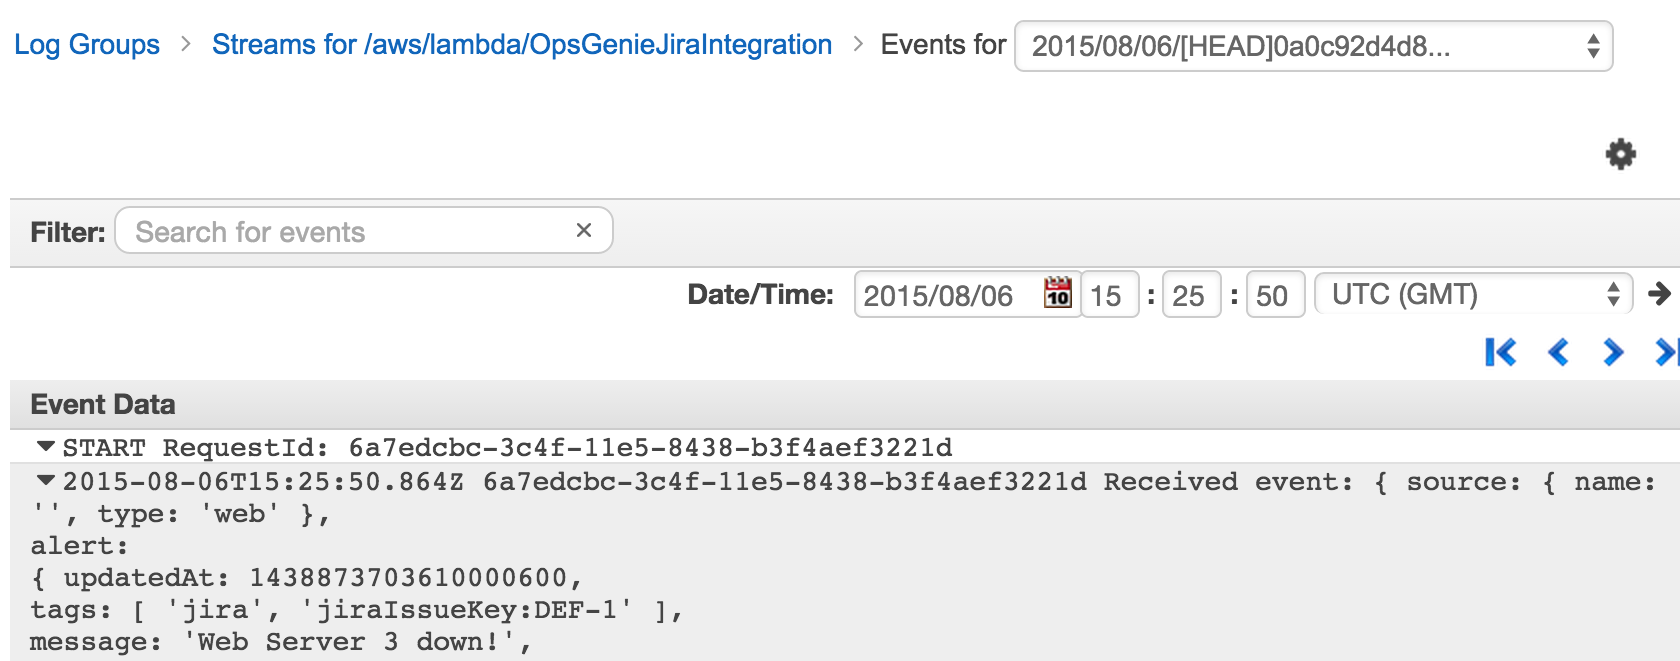
Exploring the auto configured API Gateway API
You can also check the API Gateway console to see what’s been created and configured for you automatically. Go to the service console first.
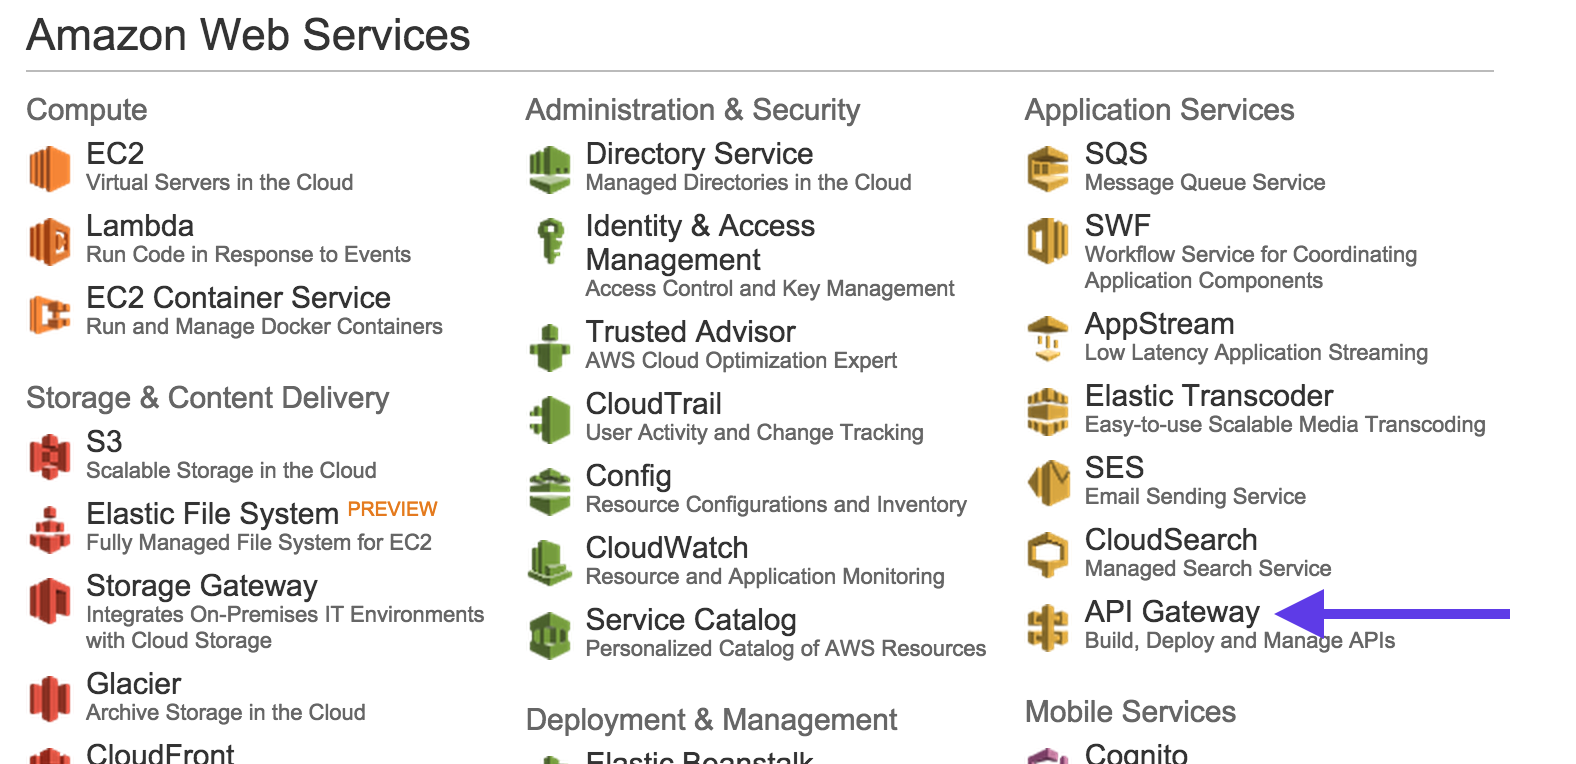
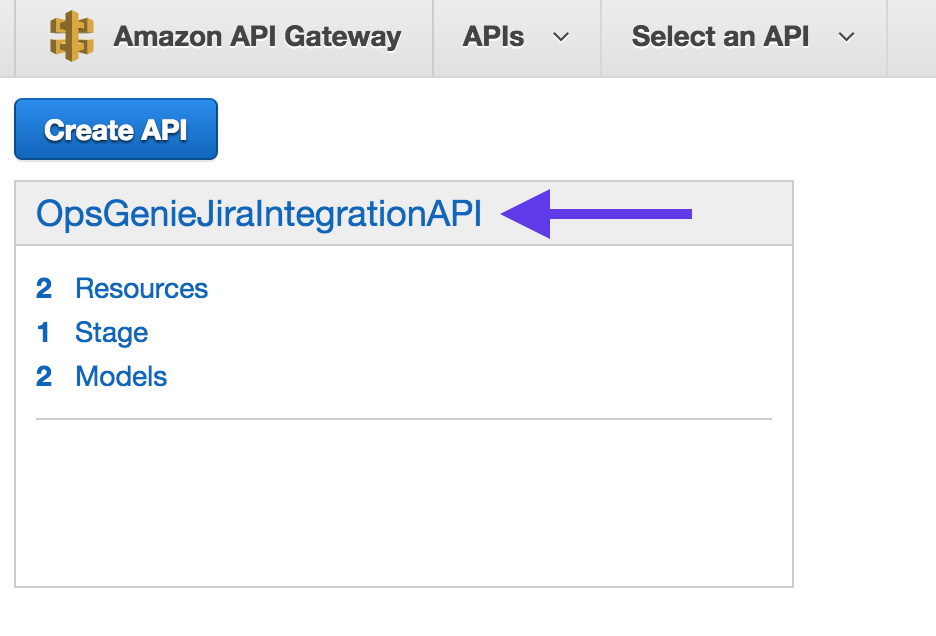
Then click on the API, OpsGenieJiraIntegrationAPI, and explore what’s been setup for you. Note that we could have created an API from scratch and associate it with the Lambda function from the API Gateway console but the Lambda console provided us a shortcut and managed some details itself.
Troubleshooting
Problems you may encounter would be likely because of configuration of your Jira installation. Jira is a flexible system and some of the features that seem central to it may not be part of your installation or they may be configured differently or the user accessing the API may not have necessary permissions to use them.
Our Lambda function has three assumptions about your installation and they are hardcoded in the code:
- There is an issue type named ‘Bug’
- Progress on issues can be started and the transition id for this action is ‘4’.
- Issues can be closed and the transition id for this action is ‘2’.
You may need to change these values to make the code run smoothly against your installation.
To see available issue types you can invoke the following call against the REST API endpoint of your Jira installation:
https://docs.atlassian.com/jira/REST/latest/#d2e4188
To see available transitions on a particular issue, you can invoke the following call against the REST API endpoint of your Jira installation:
https://docs.atlassian.com/jira/REST/latest/#d2e797
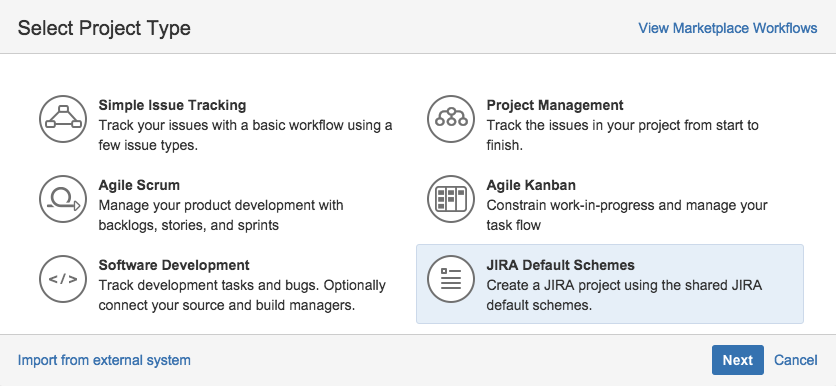
The type of the Jira projects created to accompany this document are Jira Default Schemes.
Updated 6 months ago
