BMC Remedy Integration
BMC Remedy is a digital service management platform built for boosting workforce productivity.

What does Opsgenie offer BMC Remedy users?
Opsgenie provides a powerful two-way integration with BMC Remedy. When a new incident is created in BMC Remedy, a corresponding Opsgenie alert is automatically created, containing detailed information about the incident. Opsgenie provides rich notifications with on-call rotation, scheduling features, and alert escalations to ensure the best incident management for BMC Remedy customers.
Functionality of the integration
- When an incident is created in BMC Remedy, it creates an alert in Opsgenie.
- When an incident is closed in BMC Remedy, the related alert will be closed in Opsgenie automatically. Also if any resolution given while closing the incident in BMC Remedy, the resolution is added as a note in Opsgenie alert.
- If Send Alert Updates Back to BMC Remedy is enabled, actions for BMC Remedy will be executed in BMC Remedy when the chosen action is executed in Opsgenie for alerts which are created by the BMC Remedy.
- If Create BMC Remedy Incidents/Problems for Opsgenie Alerts is enabled, actions for BMC Remedy will be executed in BMC Remedy when the chosen action is executed in Opsgenie for alerts which have a source other than the BMC Remedy integration.
Add BMC Remedy Integration in Opsgenie
- Please create an Opsgenie account if you haven't done so already.
- Go to Opsgenie's BMC Remedy Integration page.
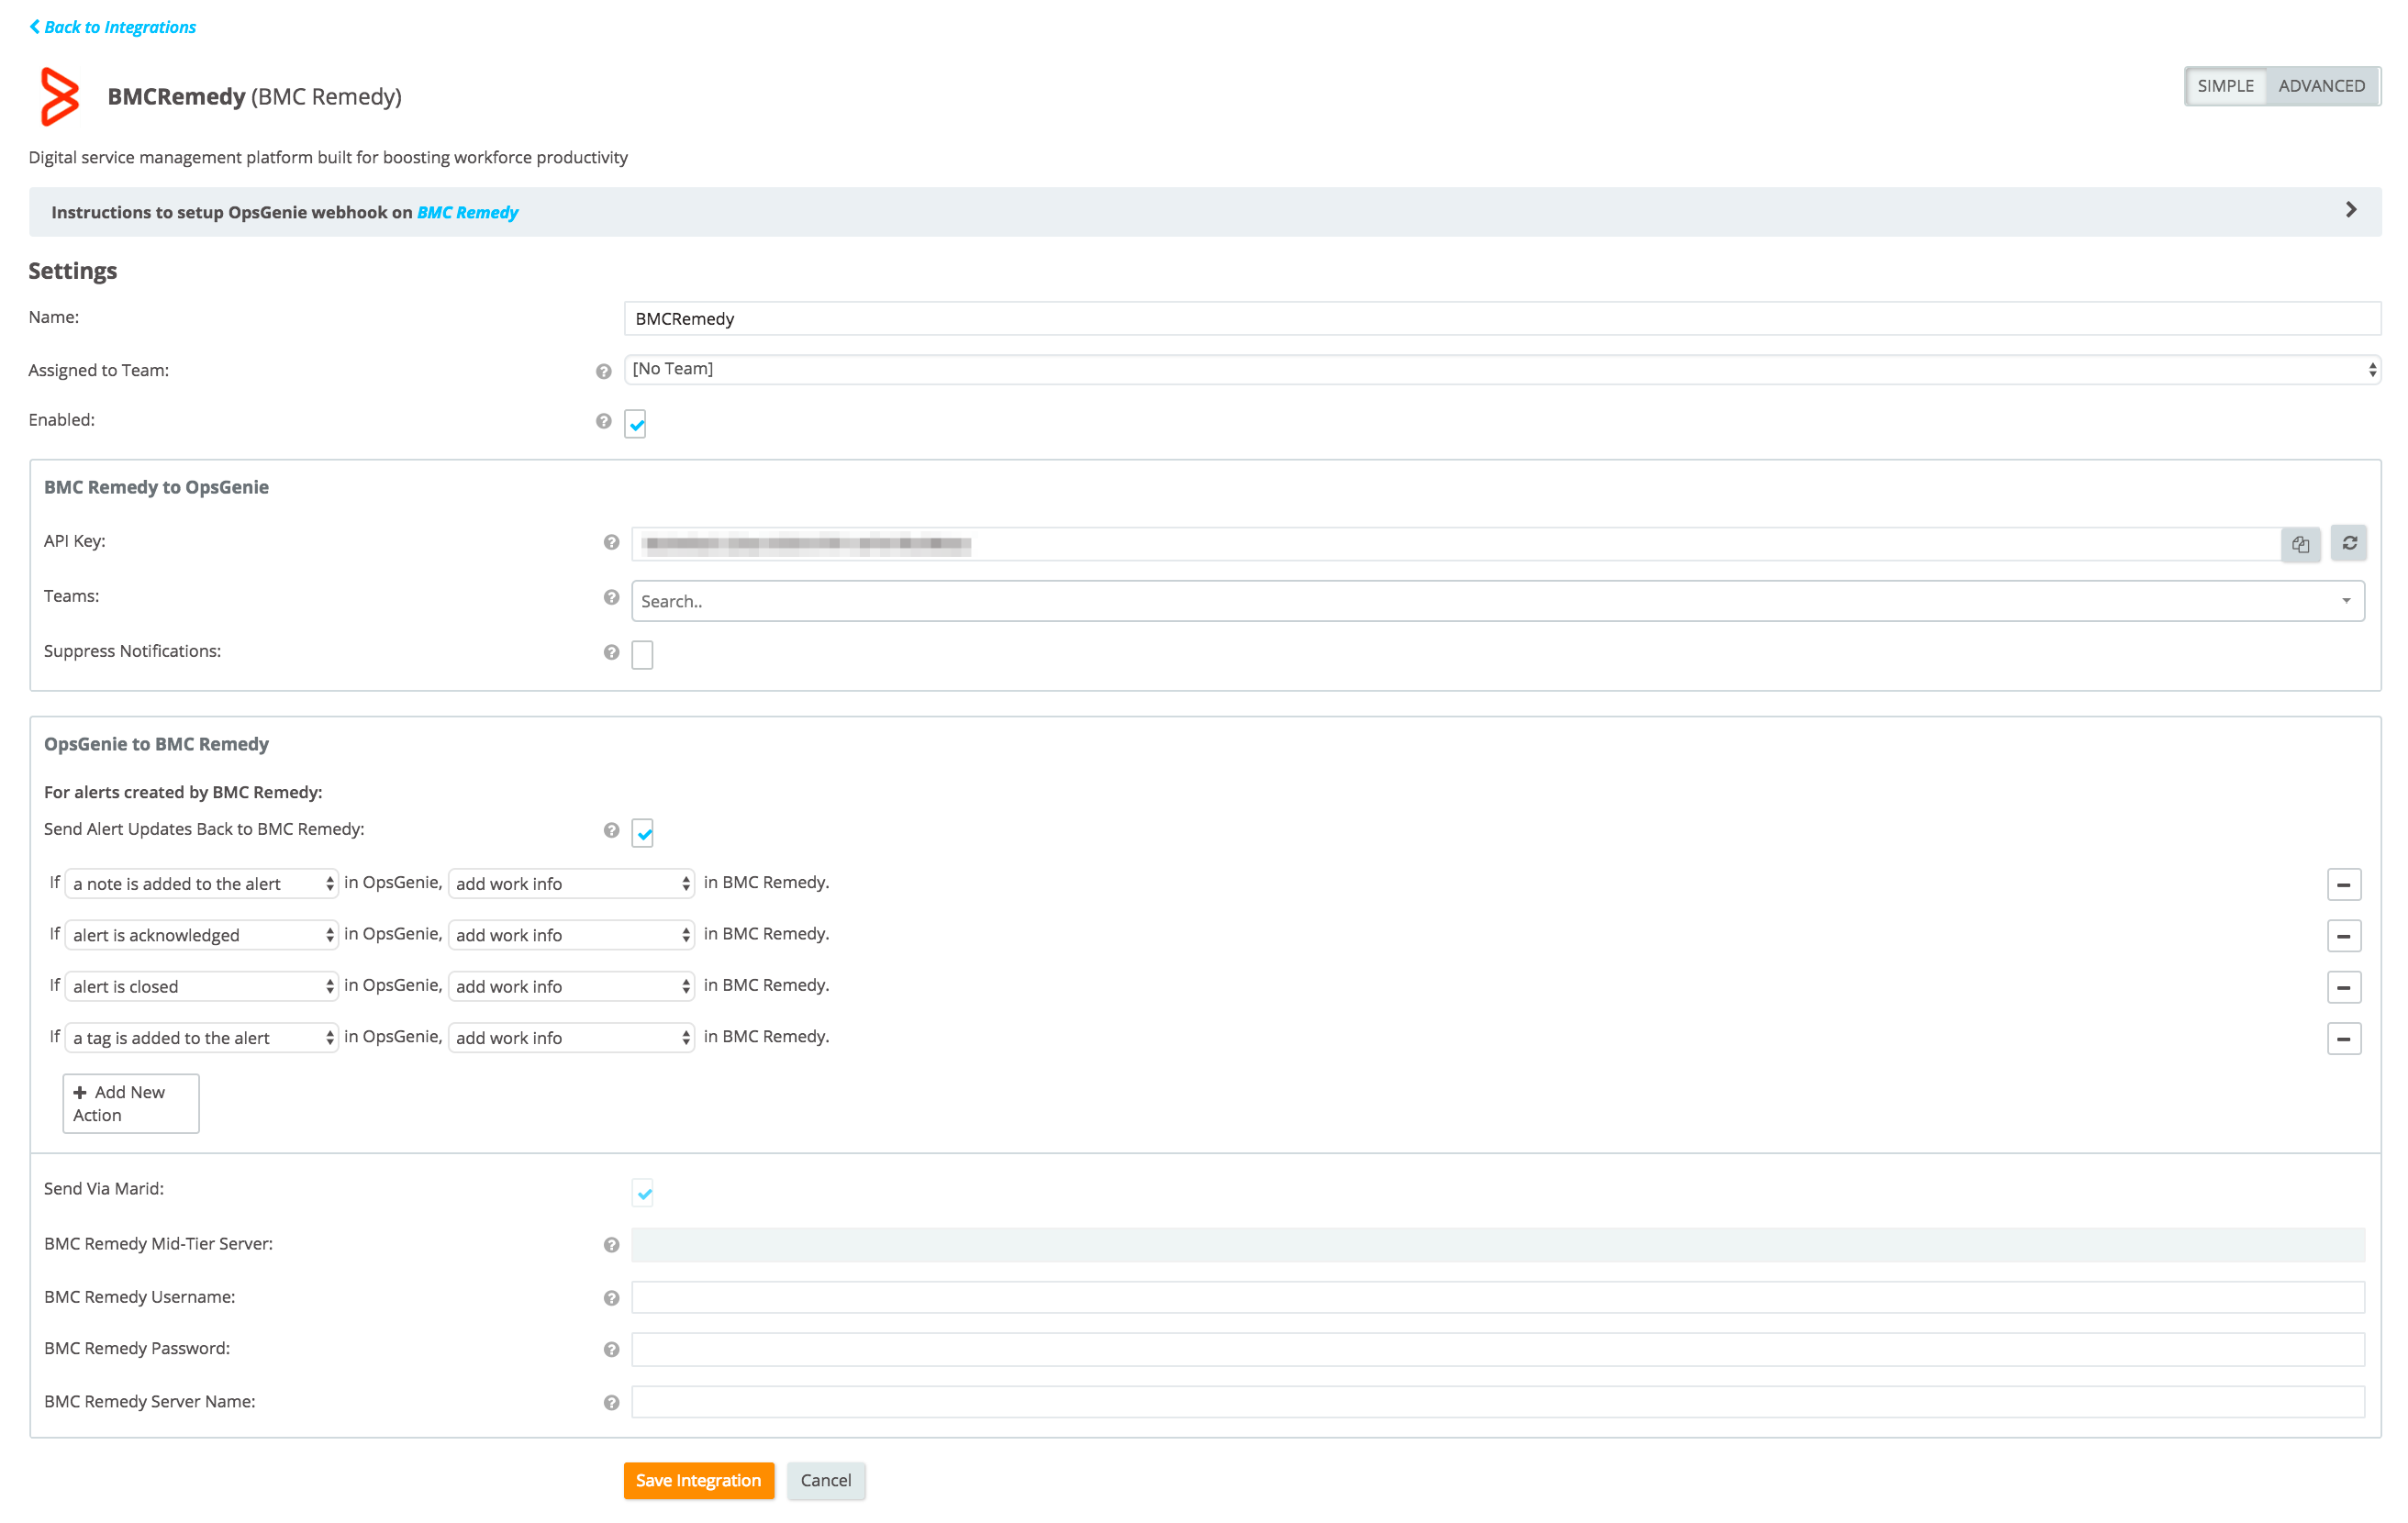
- Specify who is notified of BMC Remedy alerts using the Teams field. Autocomplete suggestions are provided as you type.
- Copy the API Key. Use this during BMC Remedy configuration.
- Click Save Integration.
Configuration in BMC Remedy
- First download the Opsgenie BMC Remedy Integration Package.
- Extract the .zip package and move the extracted folder named Opsgenie to the path **C:**

- Paste the API Key copied from the previous chapter Add BMC Remedy Integration in Opsgenie into the apiKey field in the configuration file located at C:\Opsgenie\BMCRemedyIntegration\opsgenie-integration\conf\opsgenie-integration.conf
- Open the BMC Developer Studio with Administrator privileges.
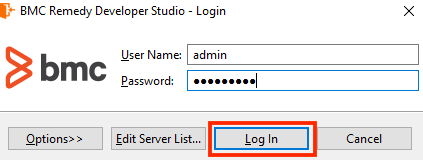
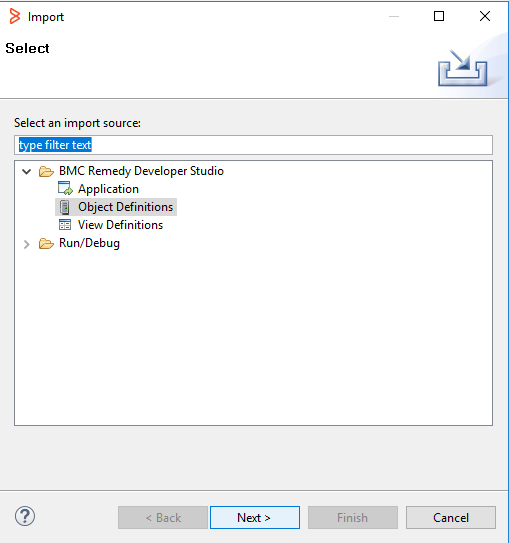
- In BMC Developer Studio open File Menu, then click Import. Select Object Definitions and click Next.
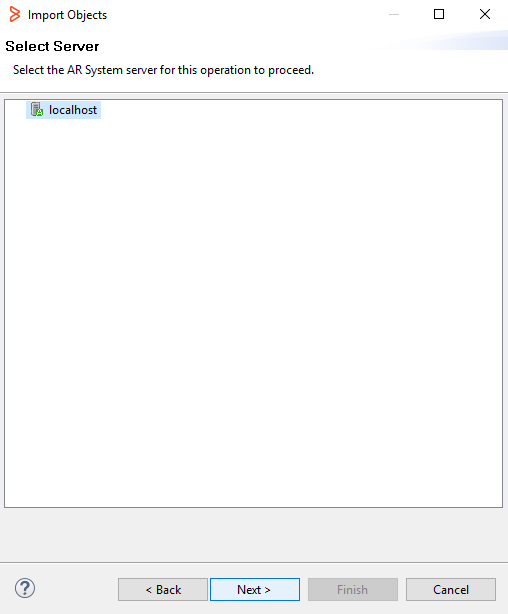
- Select the AR System server for this operation to proceed.
- Choose the OpsgenieFilter.def included in BMC Remedy Integration package as import file and click Next.
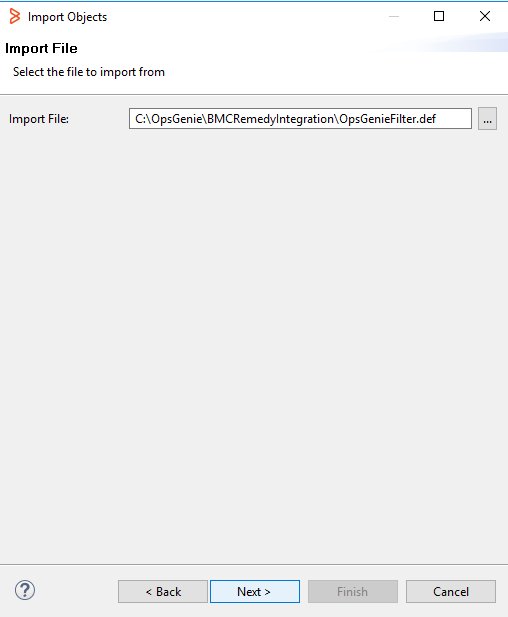
- In Object Selection window please make sure that you see the filter named HPD:Help Desk Opsgenie Integration and click Finish.
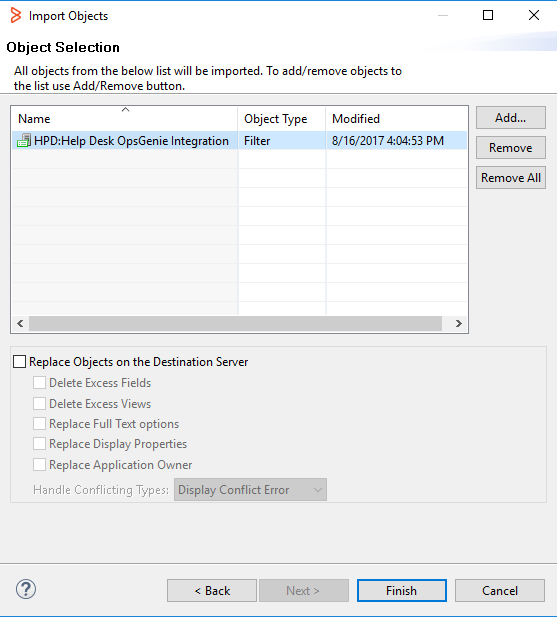
- Expand your AR System server and Objects items respectively, then click Filters
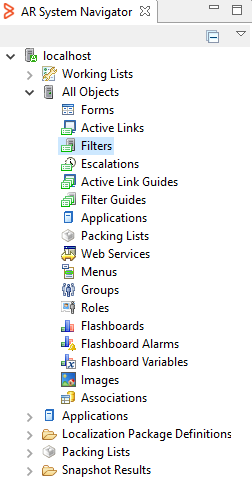
- In the filters tab select the filter named HPD:Help Desk Opsgenie Integration, you can use filtering options like in the below image for finding it easily.

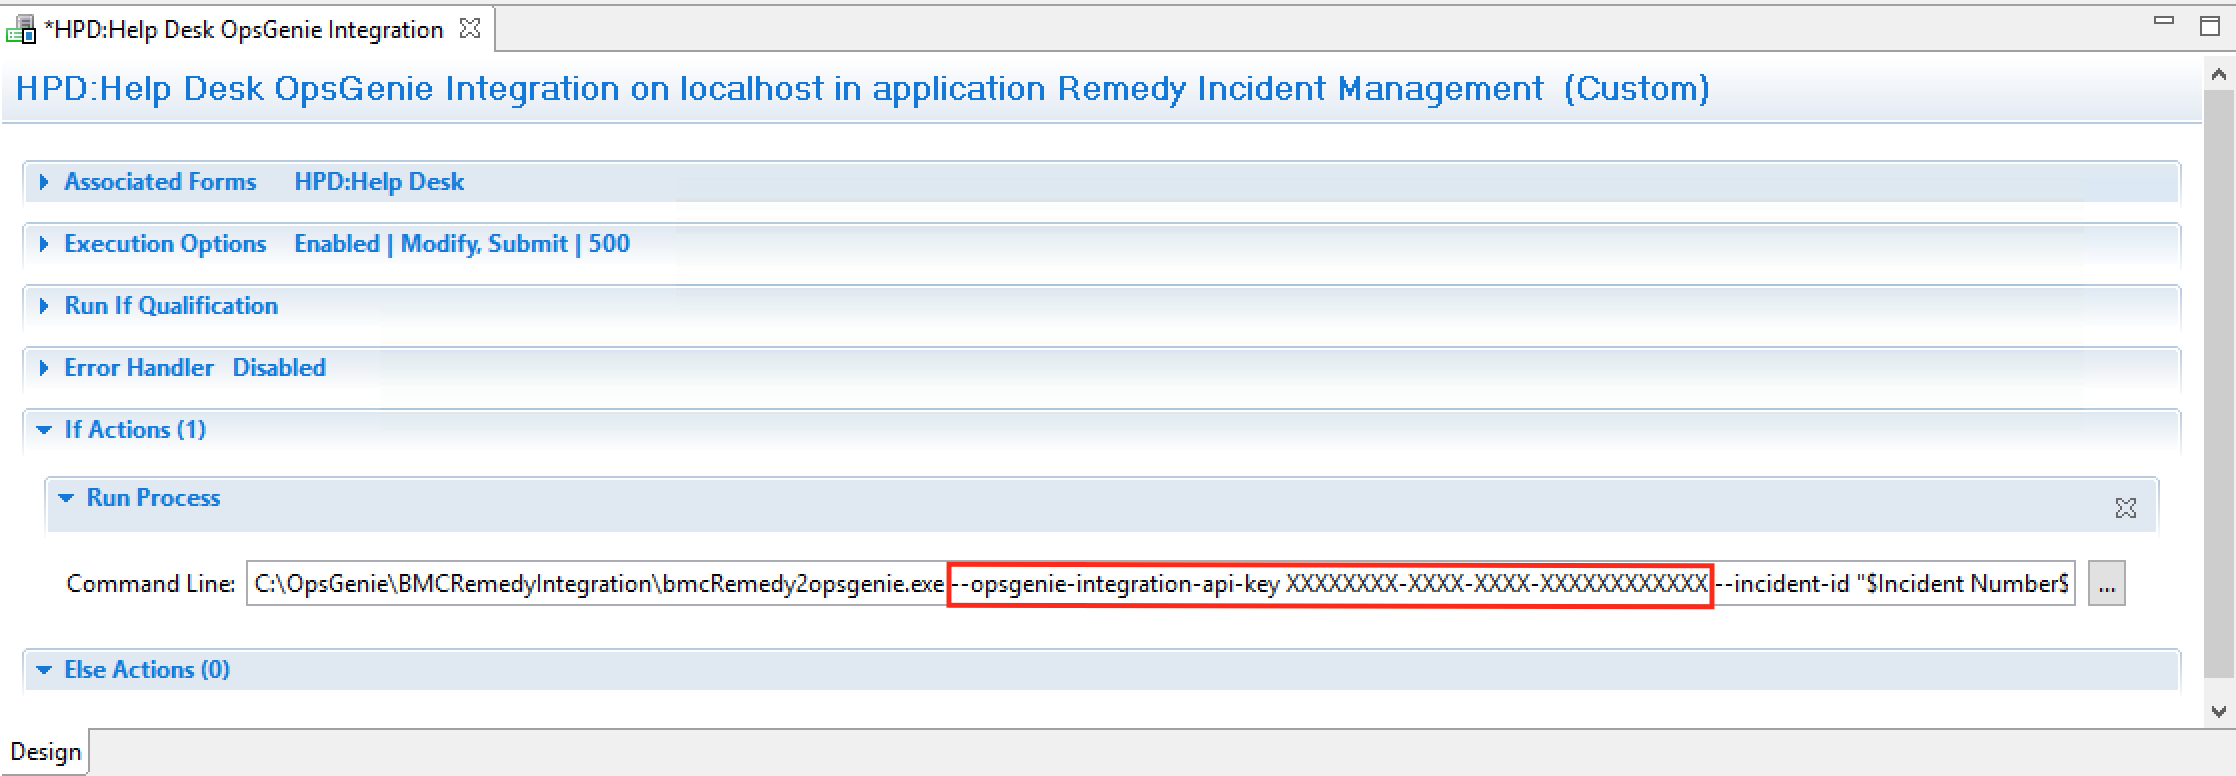
- In filter configuration page expand the menus If Actions and Run Process respectively. If you want to override the api key you set in the opsgenie-integration.conf file add a flag named opsgenie-integration-api-key as shown in the below image with the key you copied from the previous chapter Add BMC Remedy Integration in Opsgenie then Press CTRL + S for saving your filter.
- Now you are all set to use Opsgenie's vast alert and notification management capabilities for your BMC Remedy Incidents. After your first incident creation in BMC Remedy, the log file in the below image will be created which logs the each operation and can be used for troubleshooting.

Integration via Marid
Use Opsgenie's BMC Remedy Integration package to update incidents on BMC Remedy. This enables you to deploy your own scripts / modify the ones provided and execute customized actions on BMC Remedy.
To use the BMC Remedy integration package that you downloaded in the section Configuration in BMC Remedy for this purpose, follow the steps in the sections below through the end.
Open BMC Remedy Integration package which you moved to C:\Opsgenie\BMCRemedyIntegration\
- BMC Remedy Integration package contains Marid package in a directory named opsgenie-integration.
- C:\Opsgenie\BMCRemedyIntegration\opsgenie-integration\marid will be referred as MARID_HOME in the rest of documentation.)
- To install Marid as a service:
- Open Command Prompt
- Go to <MARID_HOME> directory
- For 32 bit systems:
marid.exe -install - For 64 bit systems:
marid_64.exe -install
Name of the service will be assigned to "Opsgenie Marid"
To set JAVA_HOME environment variable, refer to Setting JAVA_HOME for more information.
To enable Ruby scripting, you need to download JRuby Complete jar file and put this jar file in lib directory (/var/lib/opsgenie/marid On Linux, MARID_HOME/lib on Windows systems.).
You may need to restart your system after setting JAVA_HOME environment variable for Windows XP/2000/2003 operating systems due to problem reported at http://support.microsoft.com/kb/821761
Configuring BMC Remedy Integration for Marid
If you are using Opsgenie Edge Connector instead of Marid, you can find the integration specific script and its sample config from here. For more information about OEC, please refer OEC Integration documentation
- Configurations regarding BMC Remedy can be done either via integration page or Marid configuration file opsgenie-integration.conf. Configuration in integration page will precede the configuration file.
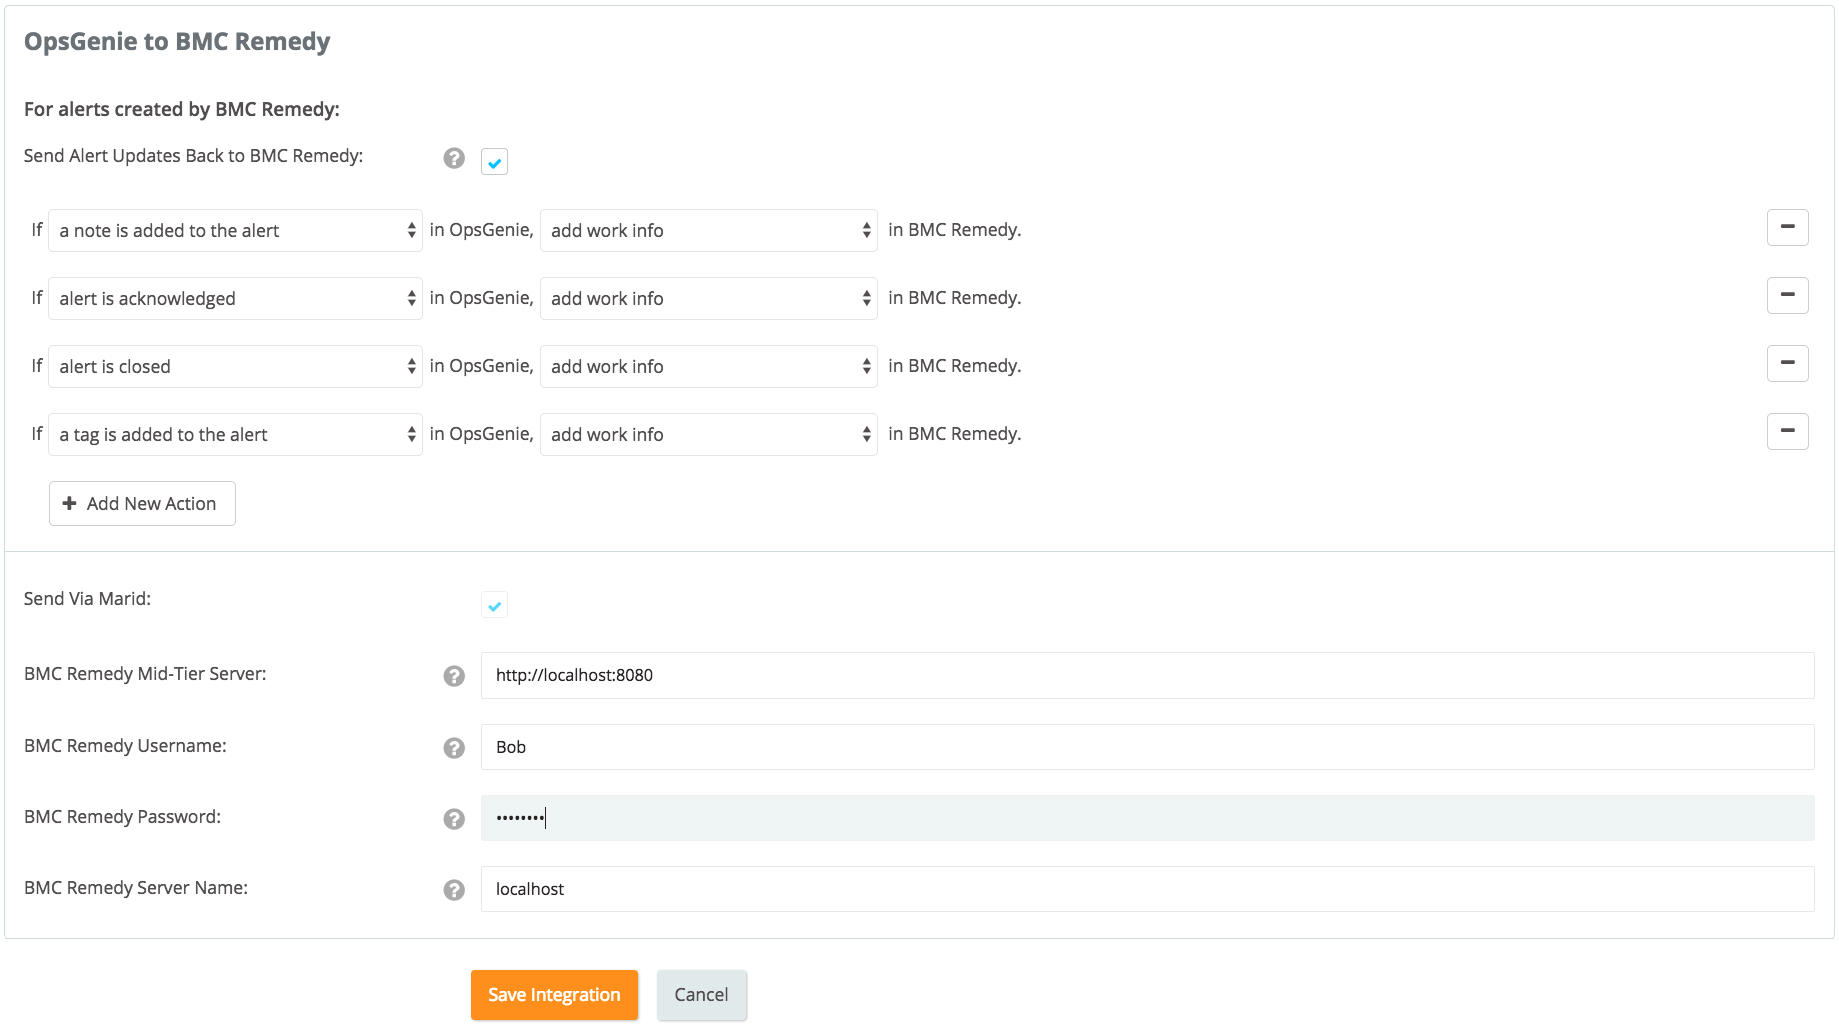
Marid Configuration
The integration uses Marid utility (included in the package) to update incidents on BMC Remedy when alerts are updated.
To start Marid, Open Command Prompt
- Go to <MARID_HOME> directory and run the following command.
- For 32 bit systems:
marid.exe -start - For 64 bit systems:
marid_64.exe -start
To stop Marid, run the following command:
- For 32 bit systems:
marid.exe -stop - For 64 bit systems:
marid_64.exe -stop
If BMC Remedy credentials weren't set via integration page, to be able to execute actions on BMC Remedy, Marid gets the configuration parameters from C:\Opsgenie\BMCRemedyIntegration\opsgenie-integration\conf file. Please note that whether you set your --opsgenie-integration-api-key flag in the BMC DEVELOPER STUDIO for the filter or not, API KEY field in the opsgenie-integration.conf file must be filled.
Configuration Parameter | Description |
|---|---|
apiKey | Copy the API key from the BMC Remedy integration you've created above |
bmcRemedy.username | BMC Remedy ARSYS username |
bmcRemedy.password | BMC Remedy ARSYS password |
bmcRemedy.midtierServerUrl | URL of your BMC Remedy Mid-Tier Server. |
bmcRemedy.serverName | Server name of your BMC Remedy Server |
opsgenie.api.url | If you're using Opsgenie from another domain(eg. EU, sandbox), you should update this configuration. |
According to the action that will be executed in BMC Remedy, the script to be run can be set here. Opsgenie's script is set by default; you can change the following configuration to run your own custom script if you like.
Action Mapping | Script File |
|---|---|
mappedActions.addWorkInfo.script | bmcRemedyActionExecutor.groovy |
mappedActions.createIncident.script | bmcRemedyActionExecutor.groovy |
mappedActions.closeIncident.script | bmcRemedyActionExecutor.groovy |
After all is set, according to your action mappings Opsgenie activity will be added as Work Detail.

Sample parameters sent to Marid
Payload for add work info action
{
  {
   "type":"bmcRemedy",
   "alertId":"5494d725-3c00-472c-9f60-3fd49352b457",
   "customerId":"aeb4417d-10b8-4826-9aec-18950b617d4c",
   "action":"Acknowledge",
   "mappedActionV2":{
      "name":"addWorkInfo",
      "extraField":""
   },
   "integrationId":"dda61d1d-98bc-4153-93eb-752d6087395d",
   "integrationName":"BMCRemedy",
   "integrationType":"BMCRemedy",
   "sendViaMarid":true,
   "alertFlowContext":{
      "requestId":"0ed9d43d-74b6-4996-886e-d38b07930772",
      "traceId":"0ed9d43d-74b6-4996-886e-d38b07930772",
      "content":{
         "alertId":"5494d725-3c00-472c-9f60-3fd49352b457"
      }
   },
   "username":"Bob",
   "password":"123",
   "midtierServerUrl":"http://localhost:8080",
   "serverName":"localhost",
   "workInfoDetails":"[Opsgenie]Bener acknowledged alert: \"[BMCRemedy] New incident: \"Email Service is Down\"\" https://opsg.in/i/14",
   "incidentNumber":"INC000000000673"
}
}
Payload for create an incident action
{
  {
   "type":"bmcRemedy",
   "alertId":"5494d725-3c00-472c-9f60-3fd49352b458",
   "customerId":"aeb4417d-10b8-4826-9aec-18950b617d4d",
   "action":"Create",
   "mappedActionV2":{
      "name":"createIncident",
      "extraField":""
   },
   "integrationId":"dda61d1d-98bc-4153-93eb-752d6087395d",
   "integrationName":"BMCRemedy",
   "integrationType":"BMCRemedy",
   "sendViaMarid":true,
   "alertFlowContext":{
      "requestId":"0ed9d43d-74b6-4996-886e-d38b07930772",
      "traceId":"0ed9d43d-74b6-4996-886e-d38b07930772",
      "content":{
         "alertId":"5494d725-3c00-472c-9f60-3fd49352b458"
      }
   },
   "username":"Bob",
   "password":"123",
   "midtierServerUrl":"http://localhost:8080",
   "serverName":"localhost",
   "message": "Alert is created",
   "priority": "P1",
   "teamName":"Service Desk",
   "alias":"BMCRemedyForce Id-ekU1N000000pZXrUAM1",
	}
}
Payload for create an incident action
{
  {
   "type":"bmcRemedy",
   "alertId":"5494d725-3c00-472c-9f60-3fd49352b458",
   "customerId":"aeb4417d-10b8-4826-9aec-18950b617d4d",
   "action":"Close",
   "mappedActionV2":{
      "name":"closeIncident",
      "extraField":""
   },
   "integrationId":"dda61d1d-98bc-4153-93eb-752d6087395d",
   "integrationName":"BMCRemedy",
   "integrationType":"BMCRemedy",
   "sendViaMarid":true,
   "alertFlowContext":{
      "requestId":"0ed9d43d-74b6-4996-886e-d38b07930772",
      "traceId":"0ed9d43d-74b6-4996-886e-d38b07930772",
      "content":{
         "alertId":"5494d725-3c00-472c-9f60-3fd49352b458"
      }
   },
   "username":"Bob",
   "password":"123",
   "midtierServerUrl":"http://localhost:8080",
   "serverName":"localhost",
   "message": "Alert is created",
   "priority": "P1",
   "teamName":"Service Desk",
   "alias":"BMCRemedyForce Id-ekU1N000000pZXrUAM1",
   "incidentNumber":"INC000000000673",
   "resolution":"[Opsgenie]Emel closed alert: \"[BMCRemedyForce] Incident: 					\"Email Service is Down\"\" https://opsg.in/i/14"
	}
}
Updated 6 months ago
